
Migrating from Pelican (Dockerized)
This guide is for Pelican installs running in Docker. If you have a docker-compose.yml with a Pelican service, you're in the right place. If Pelican runs directly on the host without containers, use the Standalone guide instead.
The import works the same way regardless of how Pelican is running: you point the Calagopus importer at a .env file with Pelican's database connection details, and it reads everything across. The Docker-specific part is that you may have to build that .env file yourself, since database hostnames inside Docker networks don't match what's in Pelican's original .env.
API keys do not migrate. The hashes aren't compatible, and neither is the API, so old keys wouldn't work even if they were imported. See the intro for the full reasoning.
Prerequisites
Before you start, you'll want:
- Access to your Dockerized Pelican install (the directory with the compose file and
.env). - Calagopus Panel installed but not yet configured. Stop at the Out-of-Box Experience (OOBE) screen.
Install Calagopus First
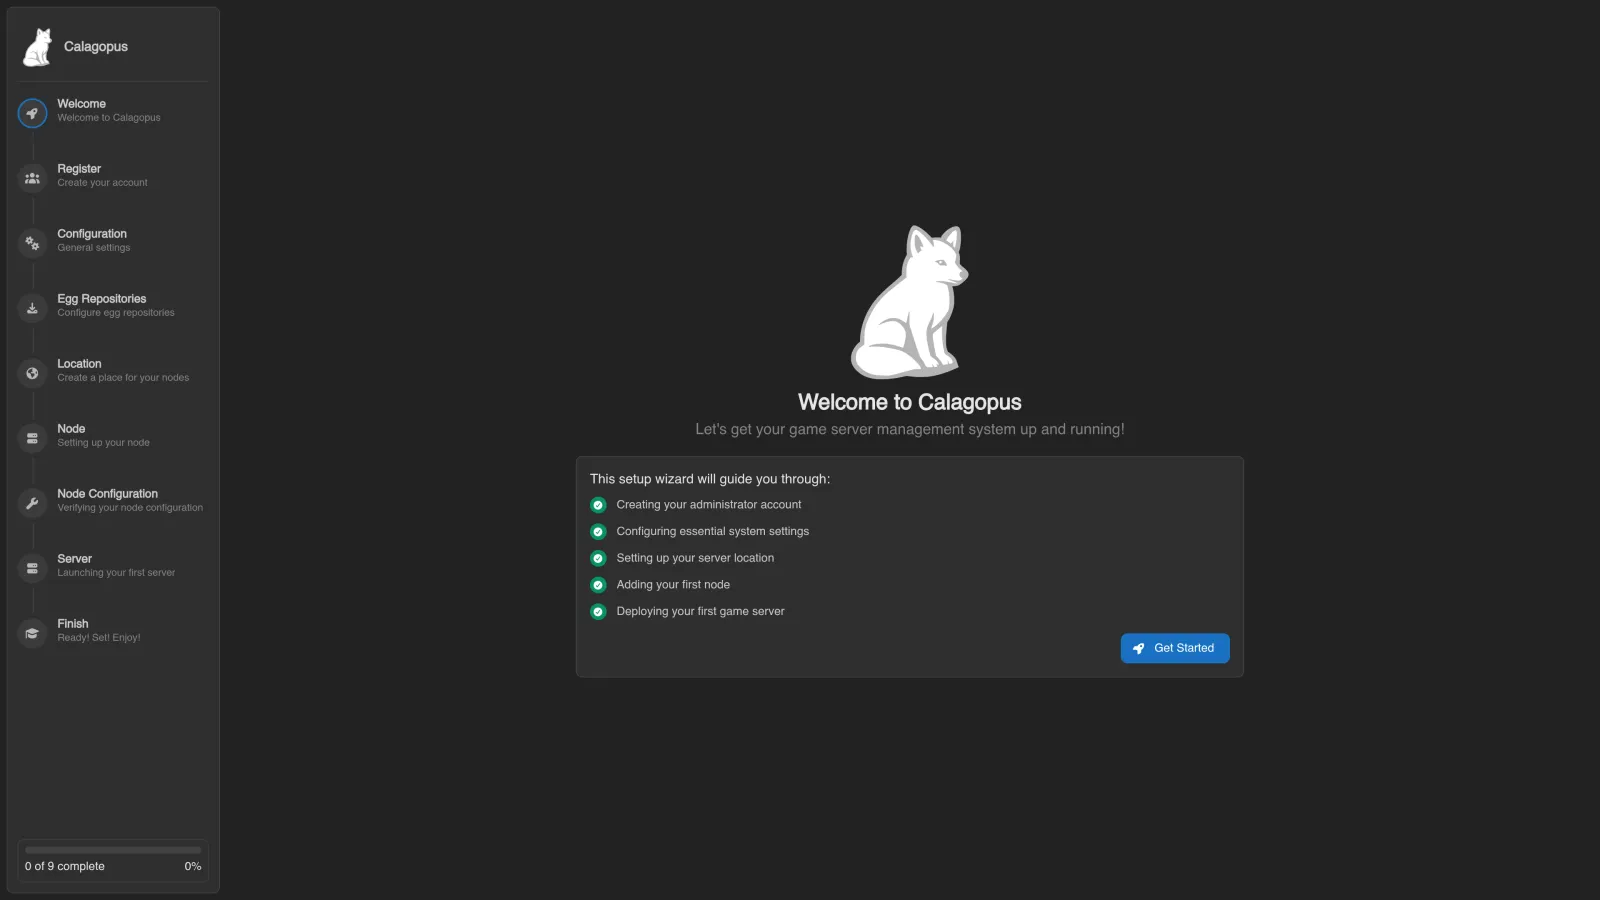
If you haven't installed Calagopus yet, follow the installation guide. Once you reach the OOBE screen, stop. Don't click through it, don't create the admin user. Just leave it there and come back here.
Don't click through the OOBE
This guide uses a fresh Calagopus database. By default, the importer refuses a target that already has users, nodes, servers, nests, or locations. If you already completed the OOBE and need to keep its data, review --force and run a dry run against the occupied target first.
Resetting a disposable target
Only use these steps if you want to discard everything in the Calagopus database and start fresh. They are not needed after a failed import that reports a rollback. Pick the tab that matches how Calagopus is installed:
Go to the directory with your Calagopus compose file and stop the stack:
docker compose downDelete the Postgres data directory:
# This wipes the Calagopus database. Don't run this if you have data you care about.
rm -r postgres
Start Calagopus back up:
docker compose up -dSet the Pelican Directory
Most commands below reference your Pelican install directory. Set it as a shell variable up front to save typing. If your Pelican host mount is at /srv/pelican, this is fine as-is, otherwise change the path:
export PELICAN_DIRECTORY=/srv/pelicanThis is optional, you can substitute the path inline anywhere you see $PELICAN_DIRECTORY. It just makes the commands shorter.
Choose Your Calagopus Install Method
The exact commands depend on how Calagopus itself is installed. Pick the matching tab:
Building the Pelican .env File
Pelican's database is reachable from inside the Pelican containers, but likely not from your Calagopus containers, since different Docker networks use different hostnames. The fix is to build a small pelican.env file with database connection details that work from where the importer runs.
The importer needs APP_URL, APP_KEY, and the database settings. Pelican supports these database drivers:
mysqlmariadbsqlitesqlite3pgsqlpostgrespostgresql
You'll find the values in Pelican's .env file. Assemble them into a new file in a moment.
APP_URL
Your existing Pelican domain. Look for it in Pelican's docker-compose.yml or .env:
APP_URL=https://panel.example.comAPP_KEY
Find this in Pelican's .env:
cat $PELICAN_DIRECTORY/.env | grep APP_KEYCopy the value. It looks like:
APP_KEY=base64:xc5QXq4u3Qgi3zRP0Q9qq32mnZvl0lVYDB_CONNECTION
Check Pelican's .env for the value. Common values are mysql, mariadb, or sqlite:
DB_CONNECTION=mysqlMySQL / MariaDB / PostgreSQL Database Settings
If DB_CONNECTION is mysql, mariadb, pgsql, postgres, or postgresql, you also need:
DB_HOSTDB_PORTDB_DATABASEDB_USERNAMEDB_PASSWORD
Most of these come straight from Pelican's .env, but DB_HOST is tricky. Pelican's .env probably has something like DB_HOST=database, a Docker service name that won't resolve from outside that compose stack. Get the actual container IP instead:
# Linux/MacOS - run from inside the Pelican directory
echo "DB_HOST=$(docker inspect -f '{{range .NetworkSettings.Networks}}{{.IPAddress}}{{end}}' $(docker compose ps -q database))"

# Windows
echo "DB_HOST=$($(docker compose ps -q database) | foreach { docker inspect -f '{{range .NetworkSettings.Networks}}{{.IPAddress}}{{end}}' $_ })"
A finished MySQL/MariaDB block looks like:
DB_CONNECTION=mysql
DB_HOST=172.29.0.4
DB_PORT=3306
DB_DATABASE=pelican
DB_USERNAME=pelican
DB_PASSWORD=secret
SQLite3 Database Settings
If DB_CONNECTION is sqlite or sqlite3, you only need DB_DATABASE:
DB_CONNECTION=sqlite
DB_DATABASE=/database.sqlite
The path matters. /database.sqlite is where the SQLite file will sit inside the Calagopus container. If Pelican's original .env has a relative path like database/database.sqlite, override it with this absolute in-container path.
Assembling the File
Go to the Calagopus directory (where your compose.yml lives) and create a file called pelican.env with everything you collected:
APP_URL=https://panel.example.com
APP_KEY=base64:xc5QXq4u3Qgi3zRP0Q9qq32mnZvl0lVY
DB_CONNECTION=mysql
DB_HOST=172.29.0.4
DB_PORT=3306
DB_DATABASE=pelican
DB_USERNAME=pelican
DB_PASSWORD=secret
Running the Import
Copy the pelican.env you just made into the Calagopus container:
docker compose cp pelican.env web:/.envIf you're on SQLite3, also copy the database file in:
docker compose cp $PELICAN_DIRECTORY/database/database.sqlite web:/database.sqliteFirst validate without importing records:
docker compose exec web calagopus-panel import pelican --environment /.env --dry-run --on-invalid=abort --report /tmp/pelican-import-report.jsonRead the reported problems before continuing. With Docker, the report is inside the web container; copy it out with docker compose cp web:/tmp/pelican-import-report.json ./pelican-import-report.json if needed. Review the import options to choose fixes or skipped rows. Then run the import interactively:
docker compose exec web calagopus-panel import pelican --environment /.envThis walks through users, servers, nodes, allocations, eggs, and everything else. Small installs finish in seconds, larger ones take longer. The terminal shows validation findings and the planned record counts before the import writes data.
If the import errors out
Validation errors stop the import before it writes data. If the write phase fails, the importer rolls back the imported records; fix the reported problem and retry. If it says the data was imported but Panel settings could not be saved, keep the imported data and set the URL, name, and mail settings in the admin area. Do not rerun a successful data import just to repair settings.
When the import finishes, restart the stack:
docker compose down
docker compose up -d
Log in with your existing Pelican credentials.
What's Next
Wings also needs to point at the new panel. See Updating Wings for that step.
After migrating, regenerate any API keys used by external scripts. The old Pelican keys won't work, and the Calagopus API differs from Pelican's, so those integrations need updating regardless.