Installing Extensions
Extensions ship as .c7s.zip files - a single archive containing both backend and frontend code. This page covers how to install one in your Calagopus Panel.
Requires the :heavy image or a development environment
Installing extensions requires the Panel to compile new code (yours, plus whatever the extension brings) at install time. The regular :latest and :nightly Docker images don't include the toolchain for that. You need either:
- The
:heavyor:nightly-heavyDocker image variant, or - A full local development environment
If you're not on the heavy docker image already, switch to the heavy variant first. See Switching to the heavy image.
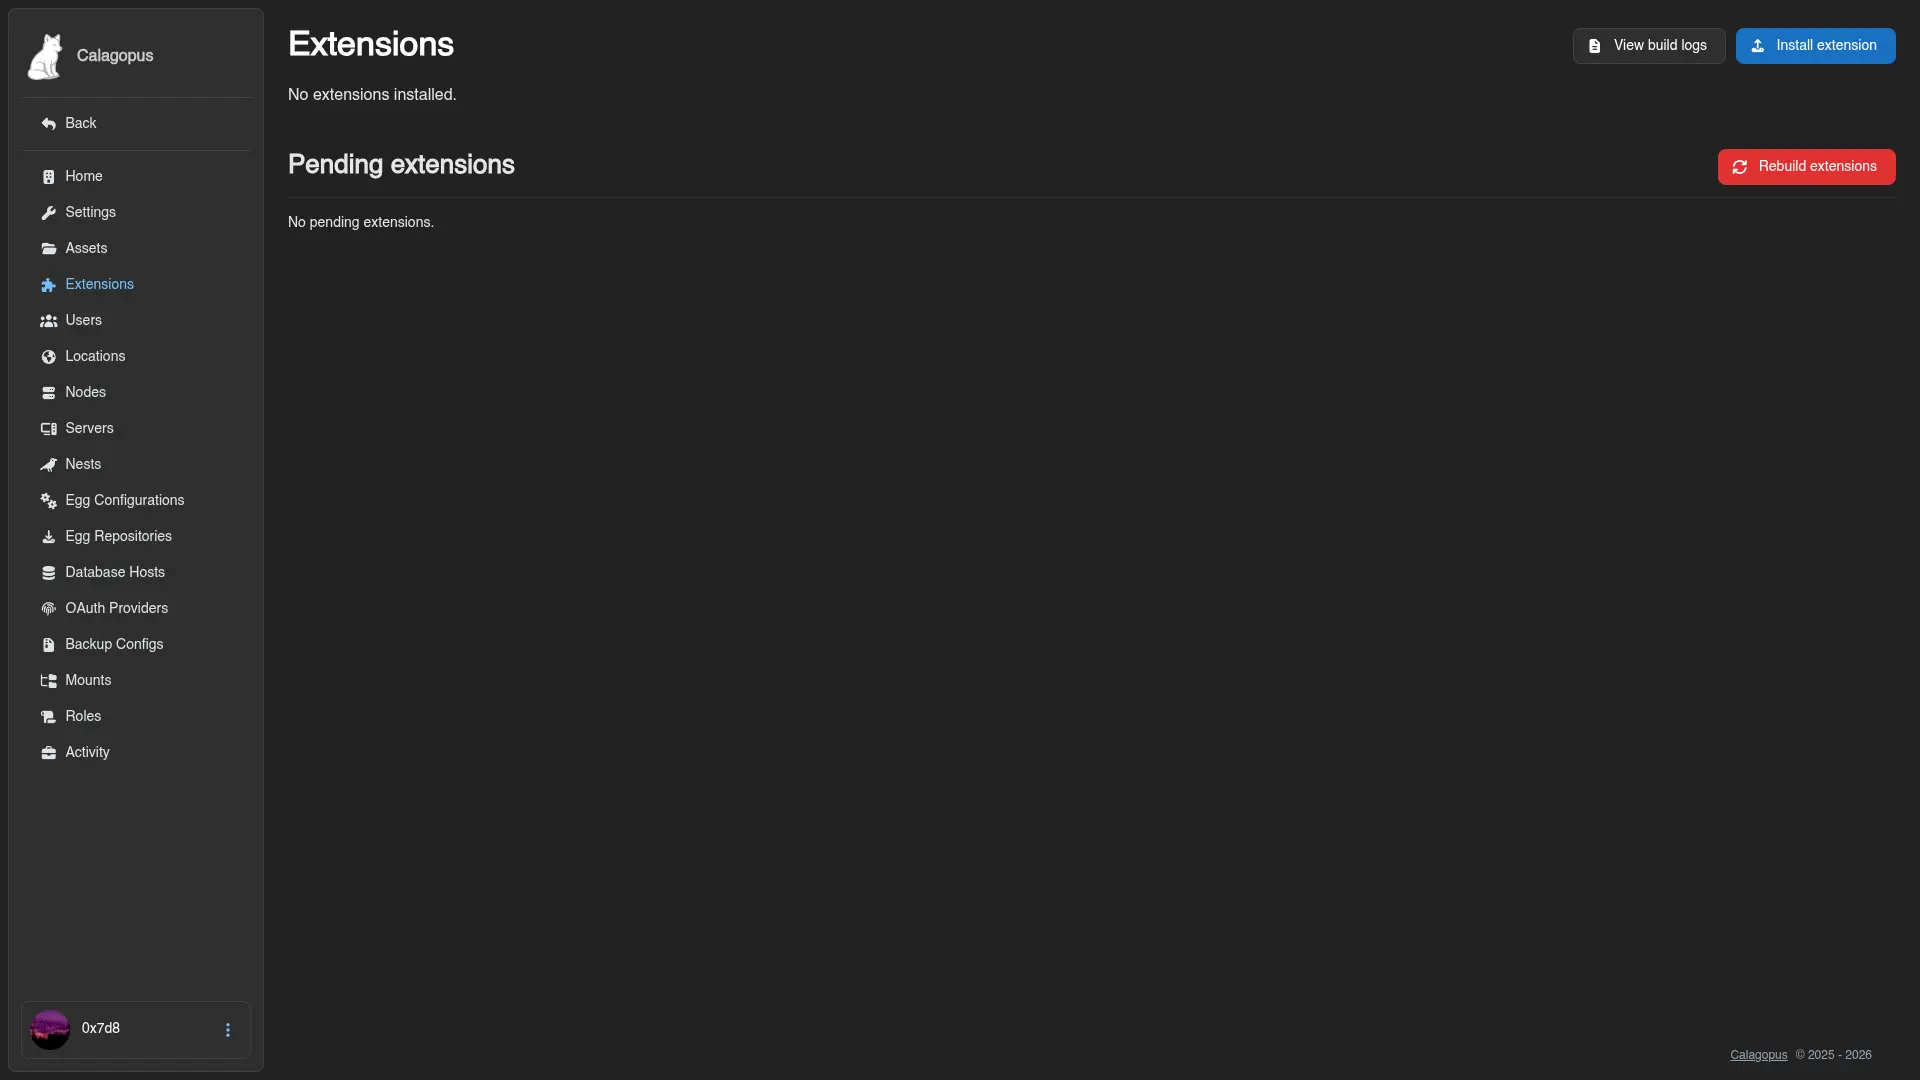
Install an Extension
The steps depend on which environment you're running. Pick the matching tab:
Once your stack is on :heavy or :nightly-heavy, you have two options.
Option 1: Upload through the admin UI. Open the Panel's extension management page, drop the .c7s.zip file into the upload area, and the Panel handles the rest - install, compile, and load.
Option 2: Drop the file in directly and restart. Copy the .c7s.zip into the Panel's extensions/ data directory (with the default heavy compose stack, that's ./build/extensions relative to your compose file), then restart the container:
docker compose restart webThe Panel detects the new file on startup and installs it, you can see the progress via the aforementioned admin UI or simply wait, it shouldn't take more than a minute or two even for complex extensions.