
Proxmox VE Panel Installation
Calagopus is available for Proxmox VE through the Proxmox VE Community Scripts project. A single command on your Proxmox host creates a Debian LXC container and installs the All-in-One (AIO) build, bundling the Panel and Wings in a single binary, alongside PostgreSQL and Valkey.
No extension support
The script installs Calagopus as a native binary, the same way as the Binary Installation, instead of using the Docker image. This means you cannot install extensions on this setup. If you need extensions, use the Docker installation with the heavy image inside a VM instead.
Running game servers on a homelab host
Wings will run fine in this setup, but game servers are CPU- and RAM-intensive workloads that compete with your other guests on the Proxmox host. This is well-suited for homelab use. For production hosting, consider running Wings on a dedicated machine connected to a standalone Panel instead.
What gets installed
The script creates an unprivileged Debian 13 LXC container (x86_64 or ARM64) and installs:
| Component | Details |
|---|---|
| Calagopus AIO | Panel + Wings in one binary at /usr/local/bin/calagopus-panel, run by the calagopus-panel systemd service |
| PostgreSQL 18 | Database panel, owned by the calagopus user, with a generated password |
| Valkey | Cache, listening on localhost |
| Docker | Used by Wings to run game server containers, the Panel and Wings themselves run natively |
The default container resources are 4 vCPU, 4 GiB RAM, and 40 GB disk. Check the Minimum Requirements and increase these if you plan to run larger or multiple game servers.
1. Run the script
Open a shell on your Proxmox VE host (from the web UI, select your node and click Shell), then run:
bash -c "$(curl -fsSL https://raw.githubusercontent.com/community-scripts/ProxmoxVE/main/ct/calagopus.sh)"Choose Default Settings to use the resources listed above, or Advanced Settings to customize the container ID, resources, network, storage, and more. The script then creates the container and installs everything, which takes a few minutes.
2. Back up the encryption key
The install generates a random encryption key and stores it, together with the database credentials and other panel settings, in /etc/calagopus/.env inside the container. See Environment Variables for what each setting does.
Back up your encryption key
Copy APP_ENCRYPTION_KEY from /etc/calagopus/.env somewhere safe. If you lose it, encrypted data in the database becomes unreadable.
You can open the container's console from the Proxmox web UI, or enter it from the host shell with pct enter <container-id>.
3. Access the Panel
Once the script finishes, it prints the panel URL. Open your browser and navigate to:
http://<container-ip>:8000You will see the OOBE (Out Of Box Experience) setup screen where you create your first admin account and complete initial configuration.
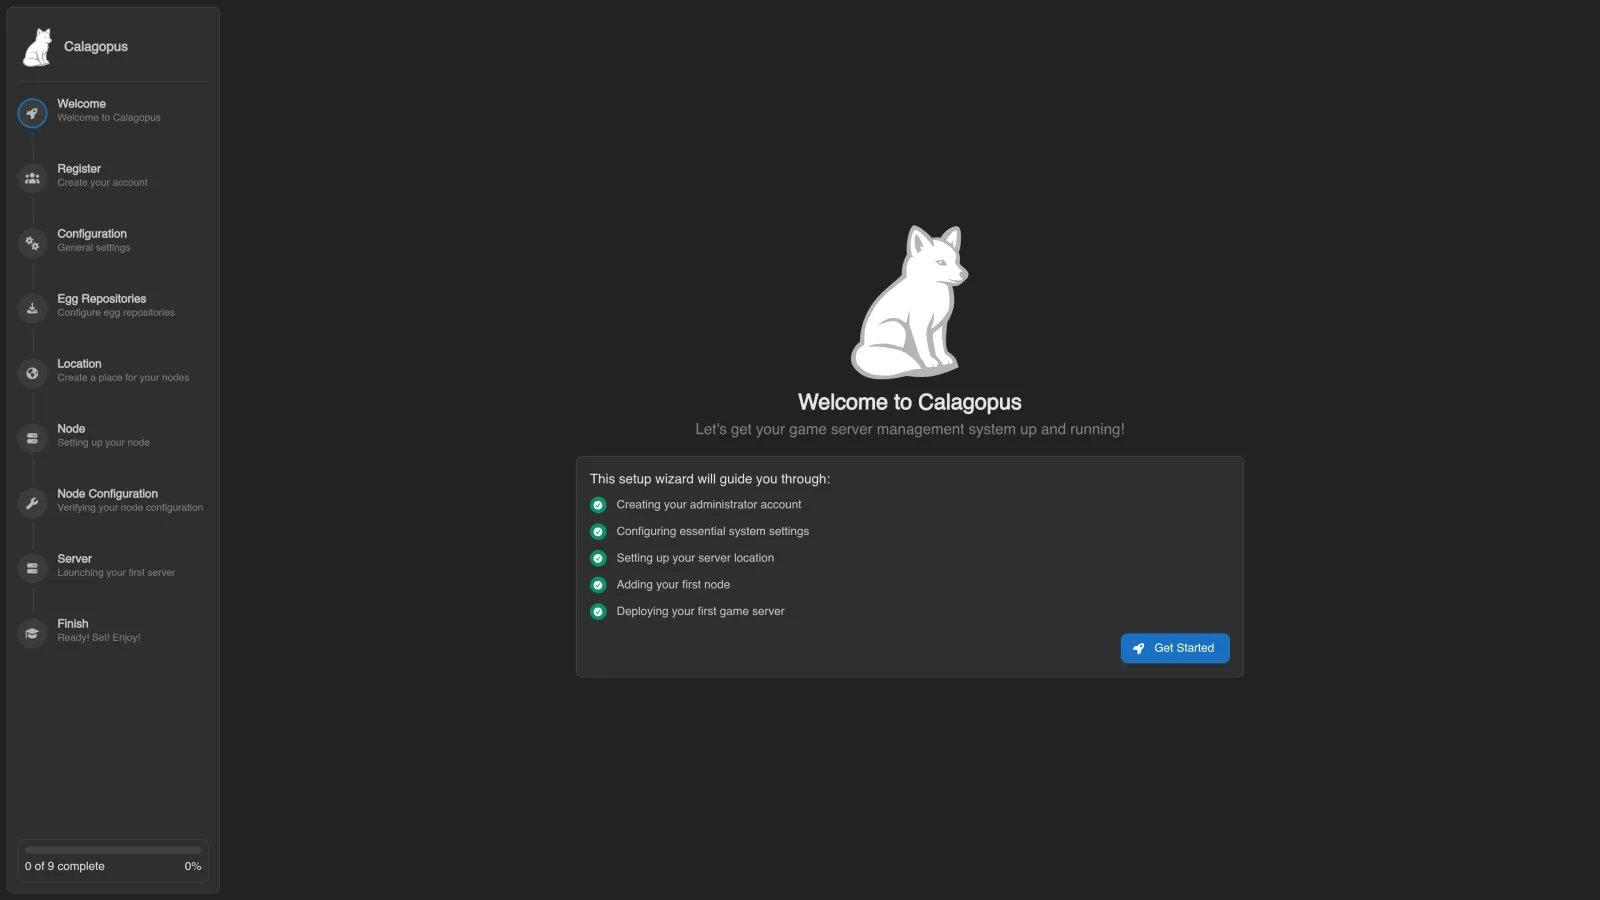
The ports used are:
| Port | Purpose |
|---|---|
8000 | Panel web UI and API |
2022 | SFTP access to game server files via Wings |
Your game servers will also need their own port allocations, configure those on the Wings node after setup.
Updating
Open the container's console and run:
updateAlternatively, re-run the install command from step 1 inside the container. When a new Calagopus release is available, the script stops the calagopus-panel service, backs up /etc/calagopus/.env and /var/lib/calagopus, replaces the binary with the latest release, and starts the service again. Database migrations run automatically on startup.