
Egg Repositories
Egg repositories connect Git repositories containing egg definitions to your panel, so you can browse and install eggs without downloading files by hand. This page describes the admin surface; the full setup and usage walkthrough, including importing and updating eggs, lives in Setting up Egg Repositories.
The list shows ID, Name, Description, Git Repository, and Created. Repositories you selected during the panel's first-time setup appear here already; use the search box to filter.

Creating and Editing
Click Create and fill in Name, Git Repository (the repository URL), and an optional Description. Opening an existing repository shows the same form on its General tab, next to the Eggs tab, with Sync and Delete alongside Save.
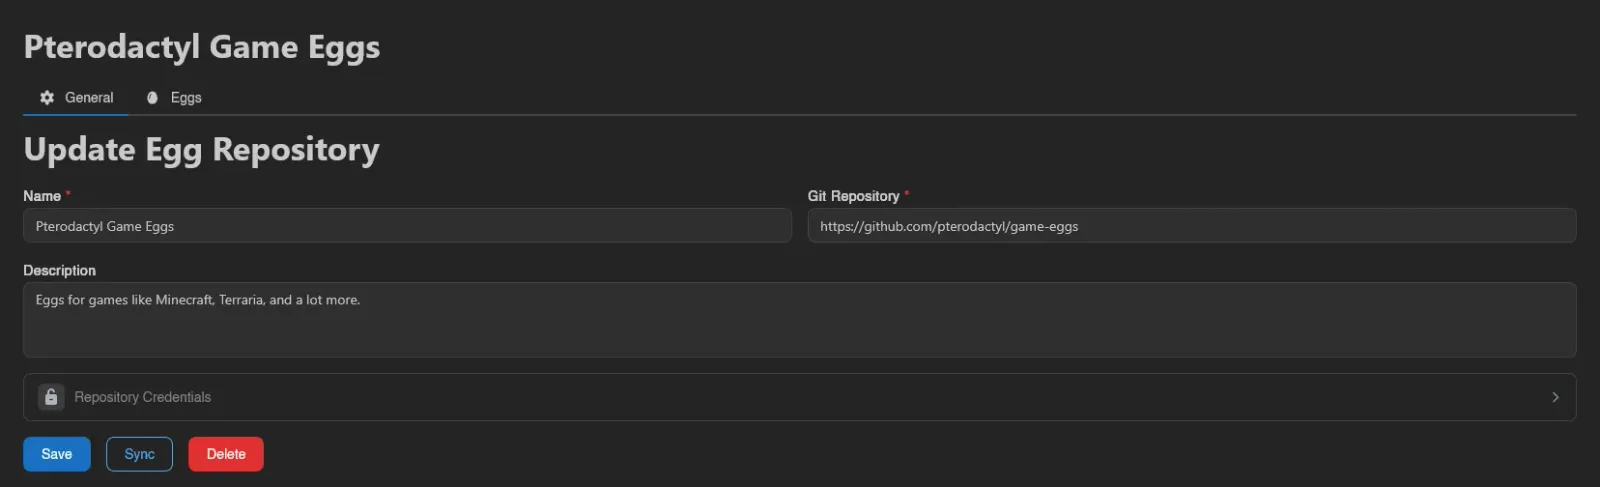
For private repositories, enable the Repository Credentials section and pick a Credential Type: None, Password (a Username plus a Password or Access Token), or Private Key (a Username plus an SSH Private Key with optional Passphrase). Password credentials work with both https and ssh repository URLs; private keys require an ssh one.

Syncing
Open a repository and hit Sync. The panel clones the repository, scans it for egg definitions (.json, .yml, .yaml, with any nearby README picked up for the preview drawer), refreshes the repository's egg list, and drops entries that no longer exist in the repository. Syncing never installs or modifies eggs in your nests; it only updates what's available to install.
Eggs Tab
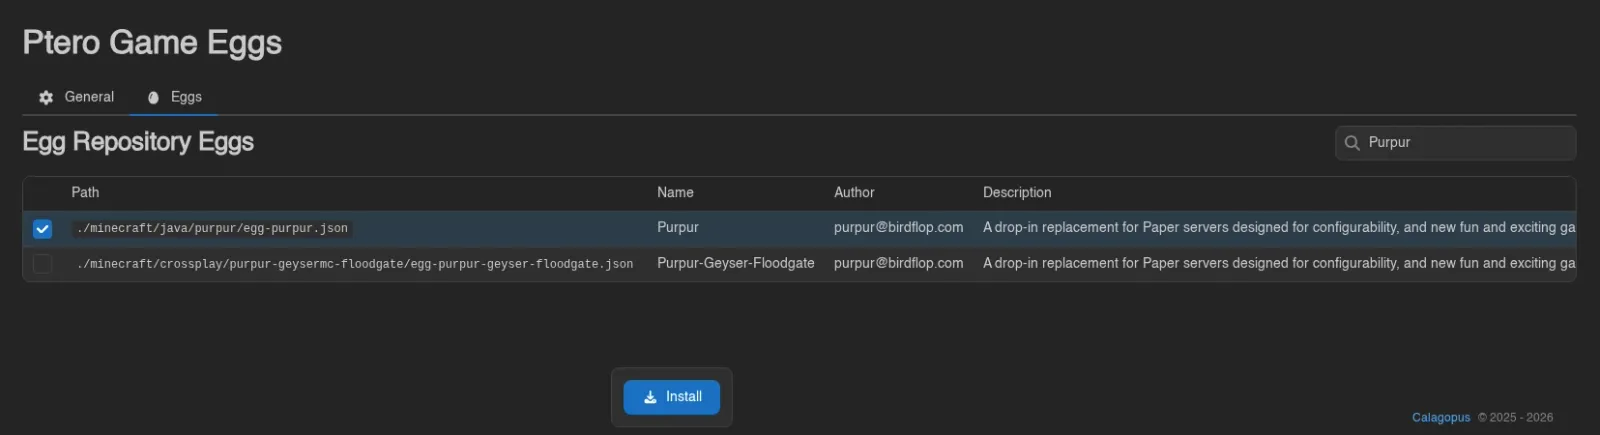
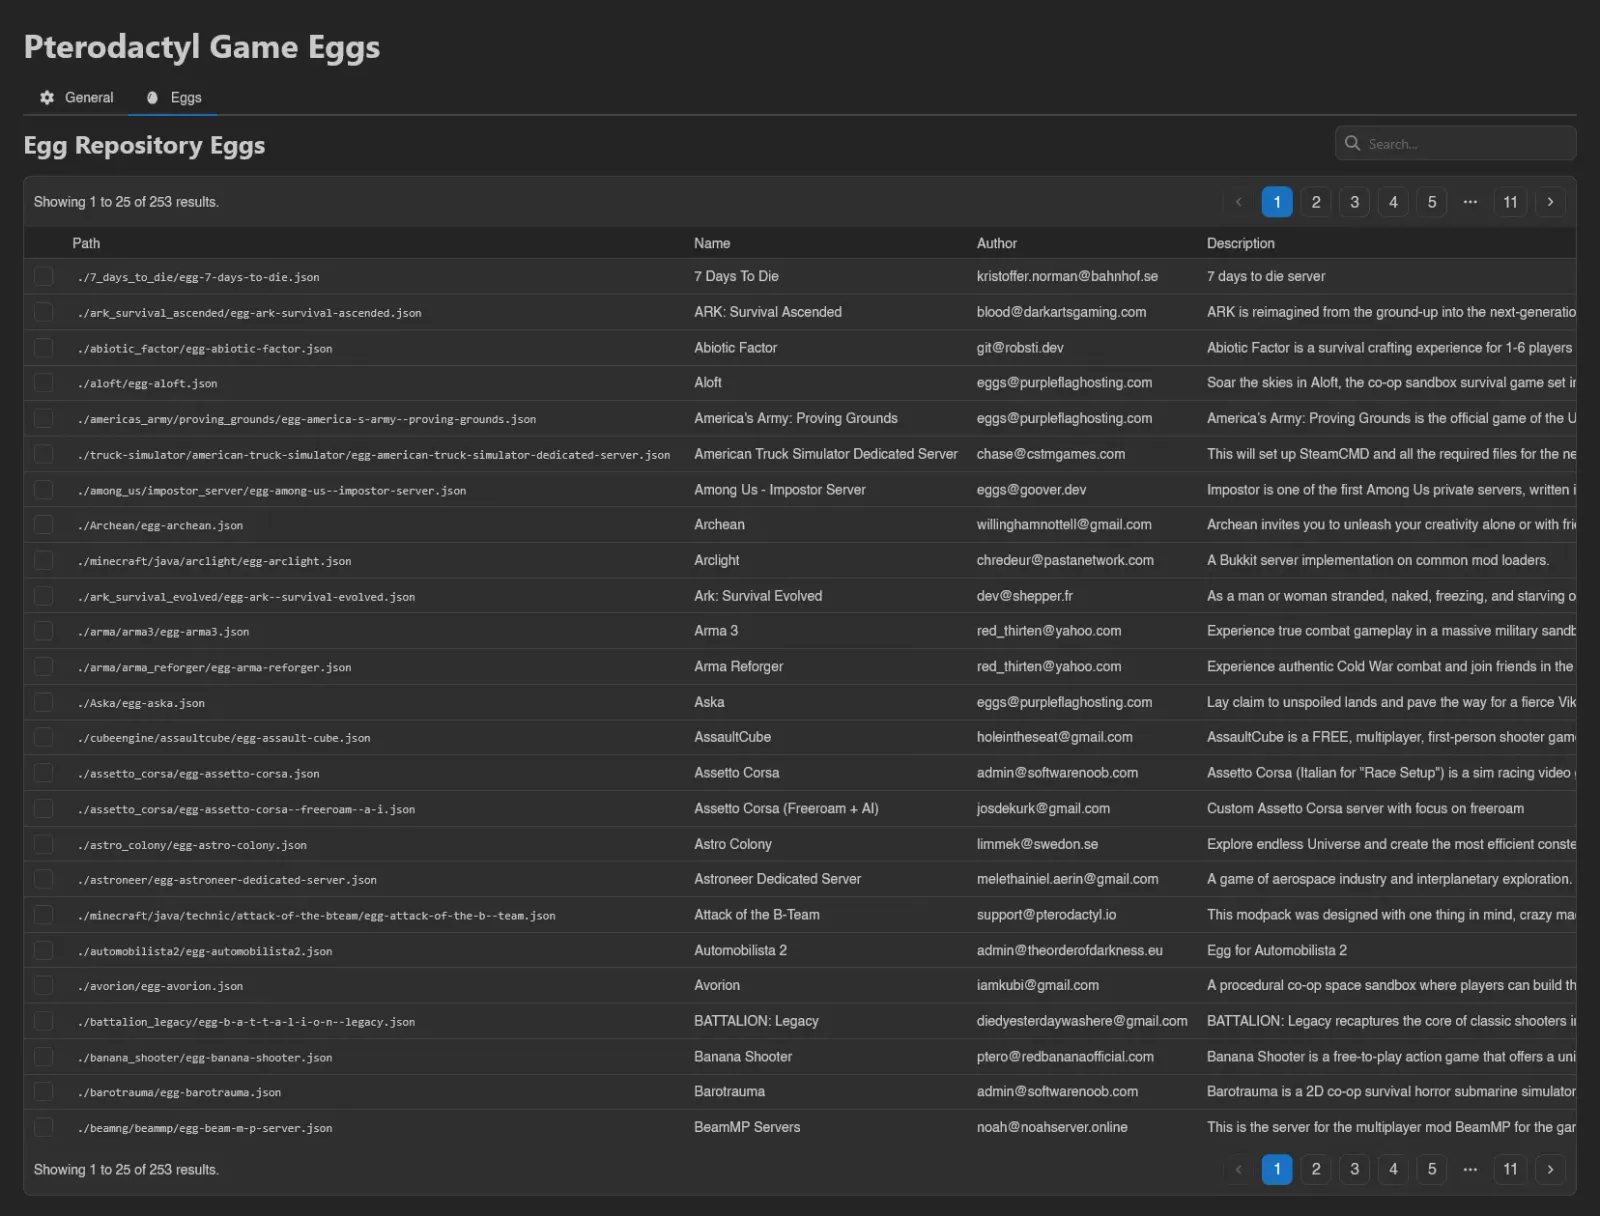
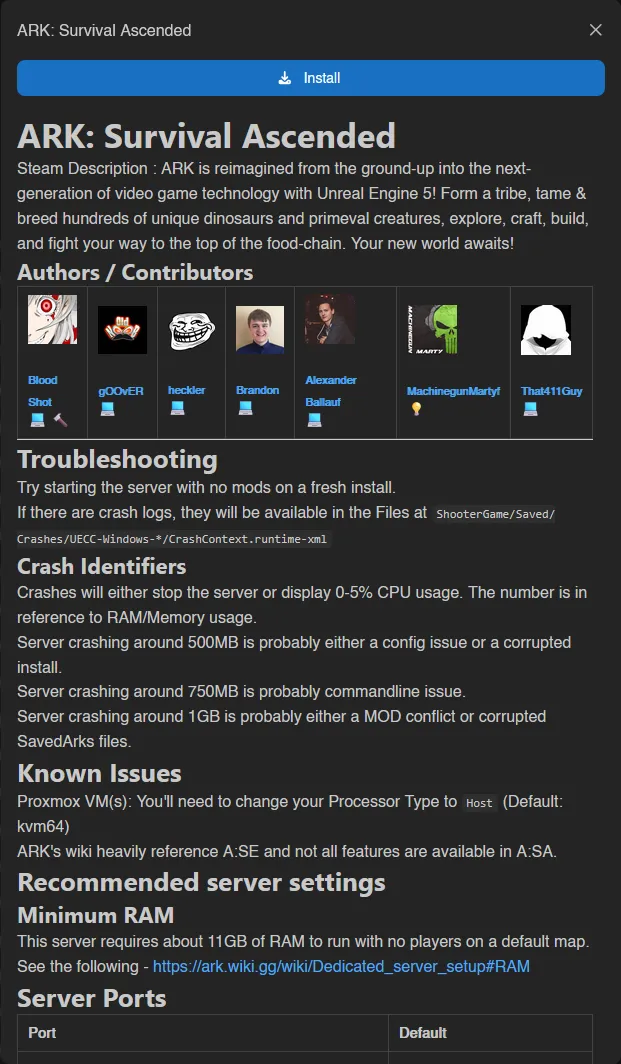
The Eggs tab lists everything found by the last sync (Path, Name, Author, Description, Updated), searchable and paginated. Click a row to open its README in a drawer with its own Install button, or select eggs and Install them into a nest. See the walkthrough for the install and update flows step by step.
INFO
Actions here map to the egg-repositories.* admin permissions (syncing needs egg-repositories.sync); see the Permissions Reference.