Package Manager Panel Installation
No extension support
The package manager installation method does not support extensions in any capacity. If you need extensions, use the Docker installation instead.
Install Calagopus Panel directly from the APT, RPM or APK repository, or from the Arch User Repository (AUR). Select your package manager:
Prerequisites
This guide assumes you have PostgreSQL and Valkey installed. You can substitute Redis for Valkey, though Valkey is notably faster.
Add the PostgreSQL APT repository following this guide, then install:
sudo apt update
sudo apt install postgresql-18
sudo systemctl enable --now postgresql
Install Valkey:
sudo apt update
sudo apt install -y valkey
sudo systemctl enable valkey-server
sudo systemctl start valkey-server
Add the Repository
curl -fsSL https://packages.calagopus.com/pub.gpg -o /usr/share/keyrings/calagopus-archive-keyring.gpg
echo "deb [signed-by=/usr/share/keyrings/calagopus-archive-keyring.gpg] https://packages.calagopus.com/deb stable main" | sudo tee /etc/apt/sources.list.d/calagopus.list
apt update
Install Calagopus Panel
apt install -y calagopus-panelAll-in-One package
If you only plan to run a single node (Panel + Wings on the same host), install calagopus-panel-aio instead. It bundles Wings alongside the Panel so you don't need to install it separately:
apt install -y calagopus-panel-aioDatabase Configuration
Connect to PostgreSQL and create the user and database:
sudo -u postgres psqlCREATE USER calagopus WITH PASSWORD 'yourPassword';
CREATE DATABASE panel OWNER calagopus;
GRANT ALL PRIVILEGES ON DATABASE panel TO calagopus;
exitConfigure Environment Variables
Download the example .env file:
mkdir -p /etc/calagopus
cd /etc/calagopus

curl -o .env https://raw.githubusercontent.com/calagopus/panel/refs/heads/main/.env.example
ls -lha # should show you the .env file
Open it in your preferred editor and configure the variables. See the Environment Configuration reference for details. At minimum set these:
DATABASE_URL="postgresql://calagopus:yourPassword@localhost:5432/panel"REDIS_URL defaults to redis://localhost and can stay as-is unless Valkey/Redis is on another host.
Set APP_ENCRYPTION_KEY to a random value:
RANDOM_STRING=$(cat /dev/urandom | LC_ALL=C tr -dc 'a-zA-Z0-9' | fold -w 16 | head -n 1)
sed -i -e "s/CHANGEME/$RANDOM_STRING/g" .env
Test the Configuration
calagopus-panelIf everything is configured correctly the panel will start the HTTP server without errors. Kill it with Ctrl-C.
Install as a Service
calagopus-panel service-installThis creates and enables a systemd service that starts on boot. Check its status with:
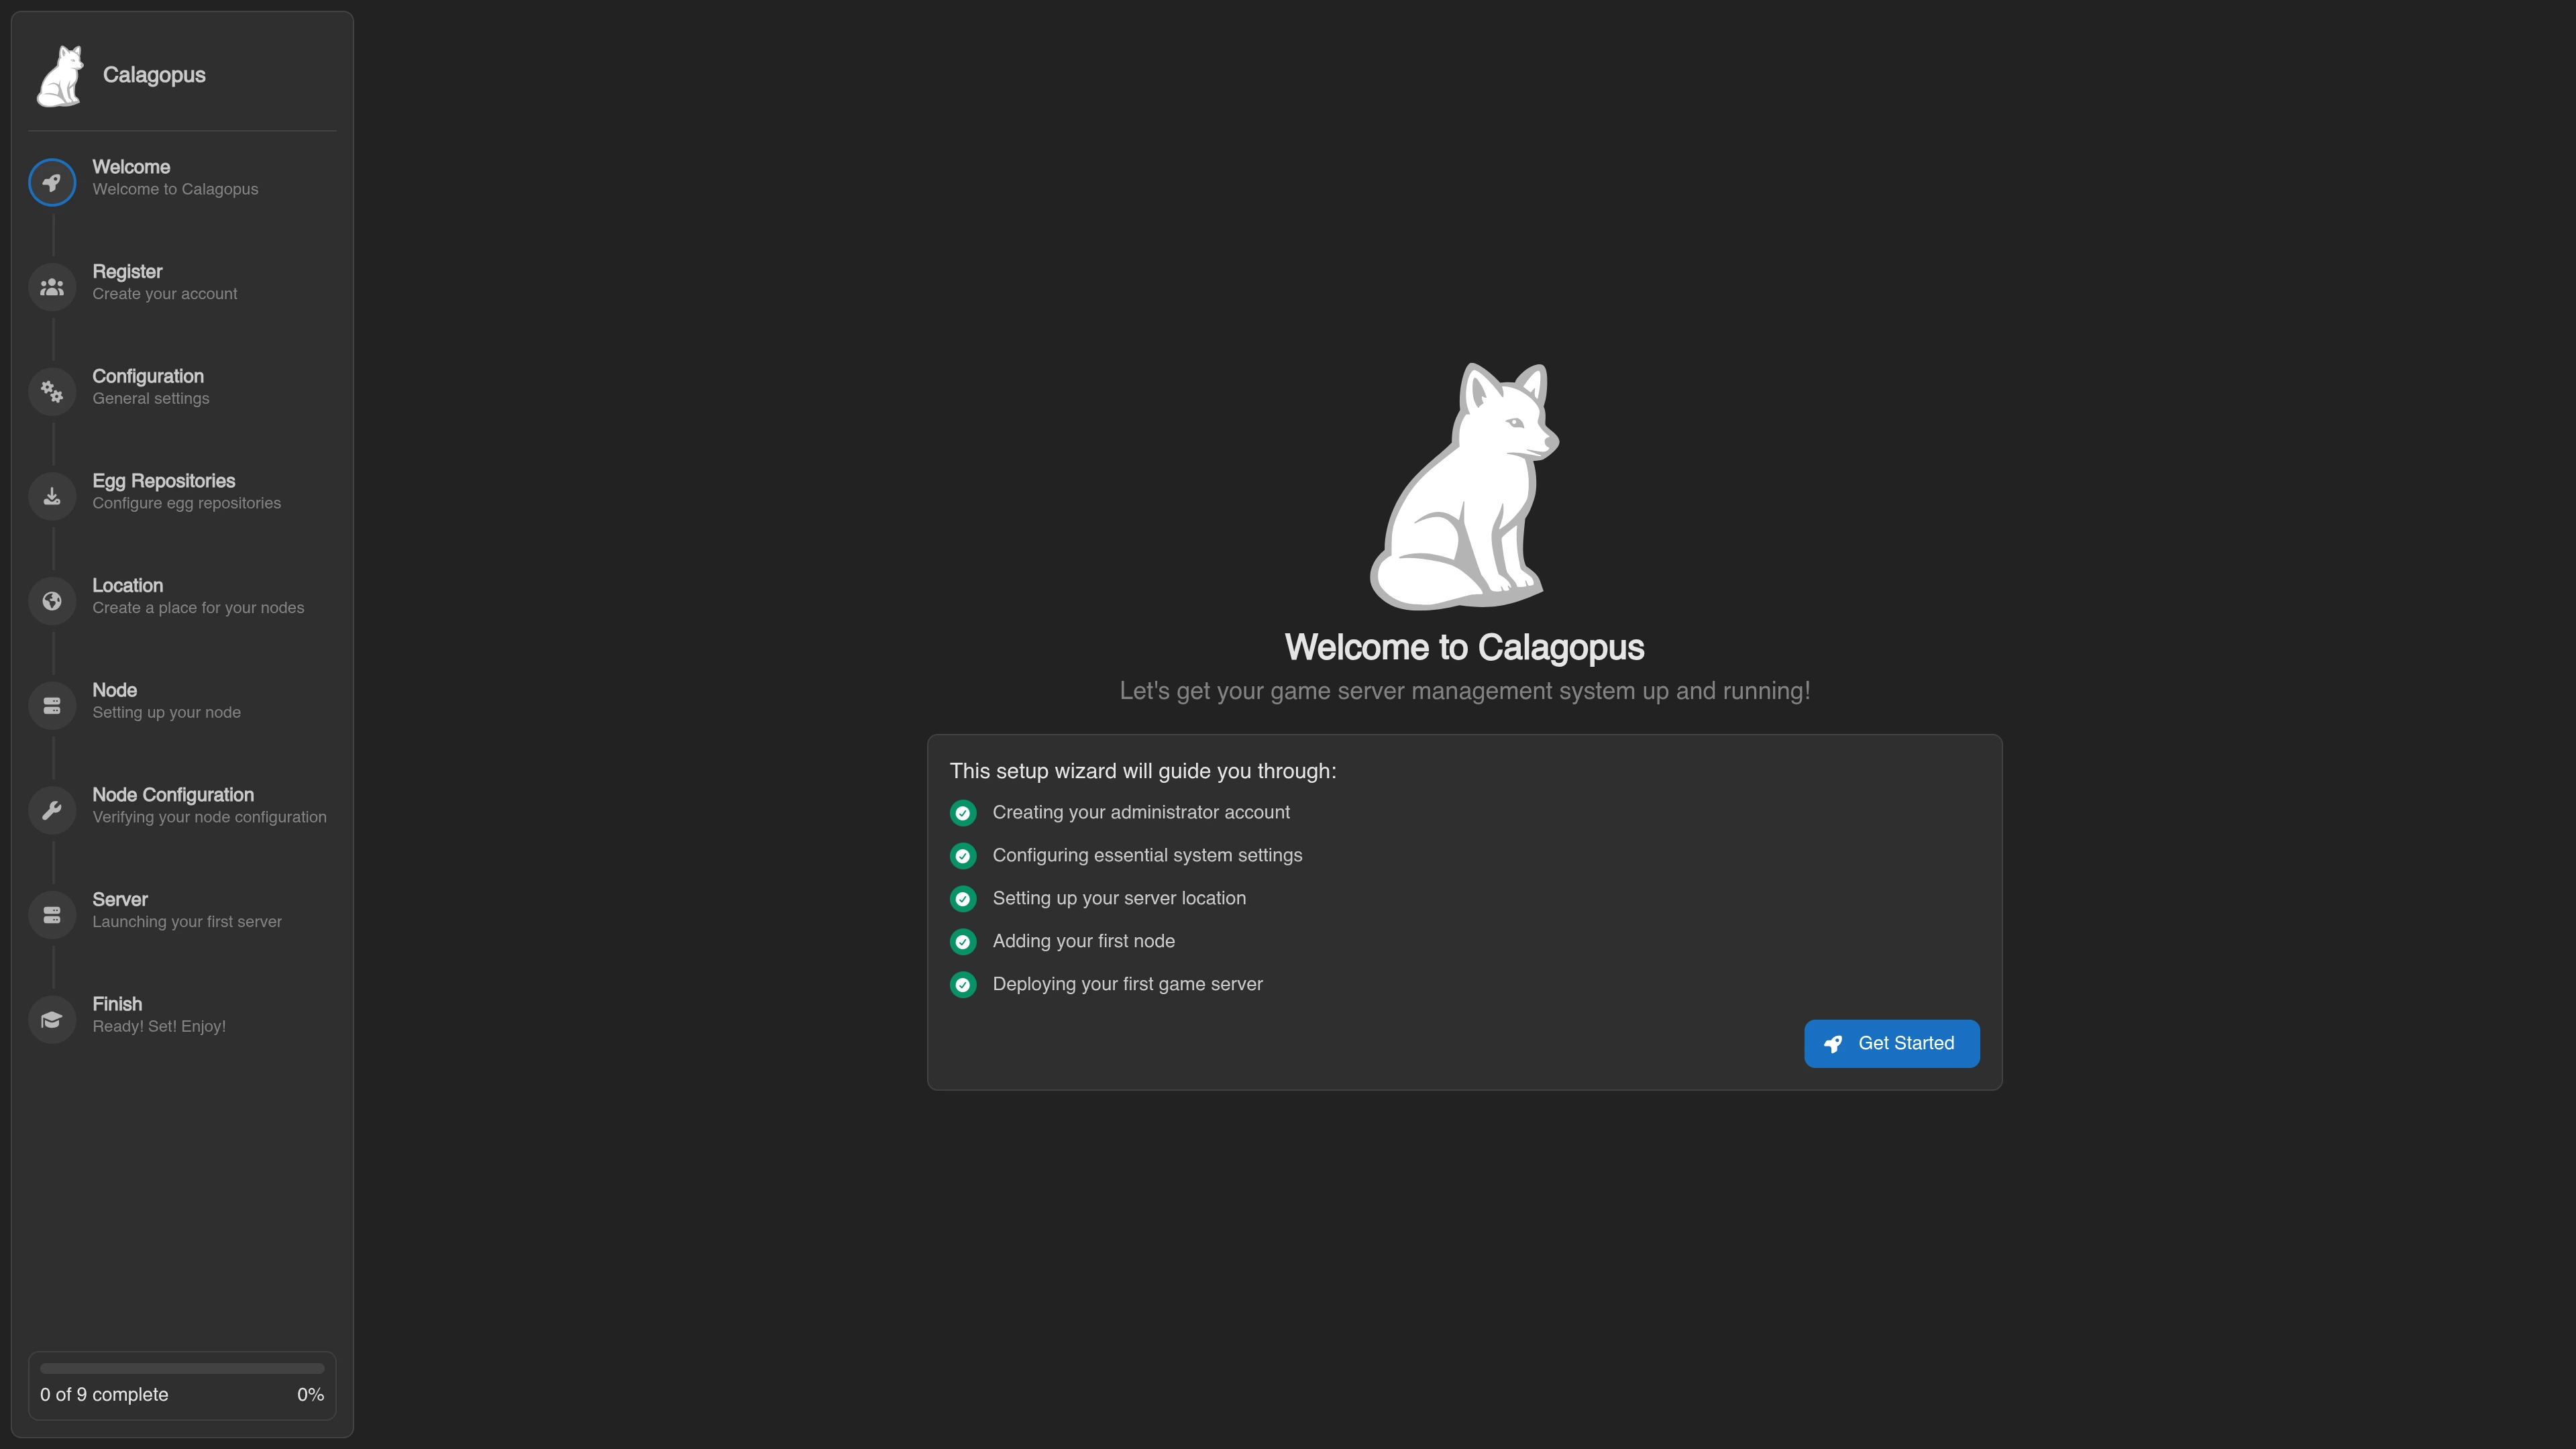
systemctl status calagopus-panelThe panel is now available at http://<your-server-ip>:8000 and will show the OOBE (Out Of Box Experience) setup screen.