
Unraid Panel Installation
Unraid 7.3 or later
This guide targets Unraid 7.3+ and assumes the Community Applications plugin is installed (it ships on almost every Unraid install and provides the Apps tab).
Calagopus ships an Unraid Community Applications template for the All-in-One (AIO) image, bundling the Panel and Wings in a single container. Unlike the Docker AIO compose stack, the Unraid template does not include PostgreSQL or Valkey, you install those separately from the Apps tab onto the same Docker network as the panel.
Running game servers on a NAS
Wings will run fine in this setup, but game servers are CPU- and RAM-intensive workloads that compete with Unraid's array and other containers. This is well-suited for homelab use. For production hosting, consider running Wings on a dedicated machine connected to a standalone Panel instead.
Why the container runs as root
The AIO image runs Wings as root by default, it needs that to manage other containers via the Docker socket mounted in step 5. This is a deliberate, documented design choice with kernel-enforced isolation around it, not an oversight. See Daemon isolation for what that does and doesn't expose, and how to enable rootless mode if you'd rather not run as root.
1. Create the Docker network
The panel, database, and cache containers all need to share a dedicated network named calagopus. Create it from the Unraid terminal:
docker network create calagopus2. Install PostgreSQL and Valkey from the Apps tab
The AIO template expects a PostgreSQL and a Valkey container reachable on the calagopus network. Search the Apps tab for a PostgreSQL 18 template and a Valkey template, several community-maintained options exist for each, and install both:
- Container name:
calagopus-dbfor Postgres,calagopus-cachefor Valkey. - Network Type: set to the custom
calagopusnetwork on both. - Postgres environment variables:
POSTGRES_USER=panel,POSTGRES_PASSWORD=panel,POSTGRES_DB=panel. - Data path: point the PostgreSQL container's persistent volume somewhere under
/mnt/user/appdata/, e.g./mnt/user/appdata/calagopus/postgres.
Different container names
The panel template's default DATABASE_URL (postgresql://panel:panel@calagopus-db/panel) and REDIS_URL (redis://calagopus-cache) reference these container names directly. Keeping them as shown means you don't need to edit those fields in step 4. If you'd rather use different names, users, or a password, that's fine, just carry the changes into the corresponding fields in step 4.
3. Create the Wings configuration file
The panel template mounts a Wings config file into the container. If the file does not already exist on the host, Docker creates it as a directory instead, which breaks the container, so create it first:
mkdir -p /mnt/user/appdata/calagopus
touch /mnt/user/appdata/calagopus/wings-config.yml
You can leave the file empty, the container populates it on first startup.
4. Install the template
Back in the Apps tab, search for Calagopus, and click the template that matches your needs:
| Template | Use when |
|---|---|
| calagopus-aio | Standard install, Panel + Wings, no extensions |
| calagopus-heavy-aio | You plan to install extensions, includes the build tooling needed to compile them |
On the configuration page:
Network Type: set to the custom
calagopusnetwork.Encryption Key, required. Generate a random value from the terminal:
bashopenssl rand -hex 32Database URL / Redis URL, default to
postgresql://panel:panel@calagopus-db/panelandredis://calagopus-cache. Only change these if you used different container names in step 2.WebUI Port / SFTP Port, default to
8000and2022. Change these if they conflict with other containers on your Unraid host.
Advanced path mappings
The advanced path mappings (Docker socket, Wings config/data/log/tmp directories, and on the heavy template, the extension build directories) default to subfolders under /mnt/user/appdata/calagopus/, leave them unless you have a specific reason to relocate them. If applicable, don't forget to move the wings configuration from step 3. Mounting files outside of the designated mount points may cause files to disappear after a reboot. Use with care.
Click Apply. Unraid pulls the image and starts the container.
5. Access the Panel
Open your browser and navigate to:
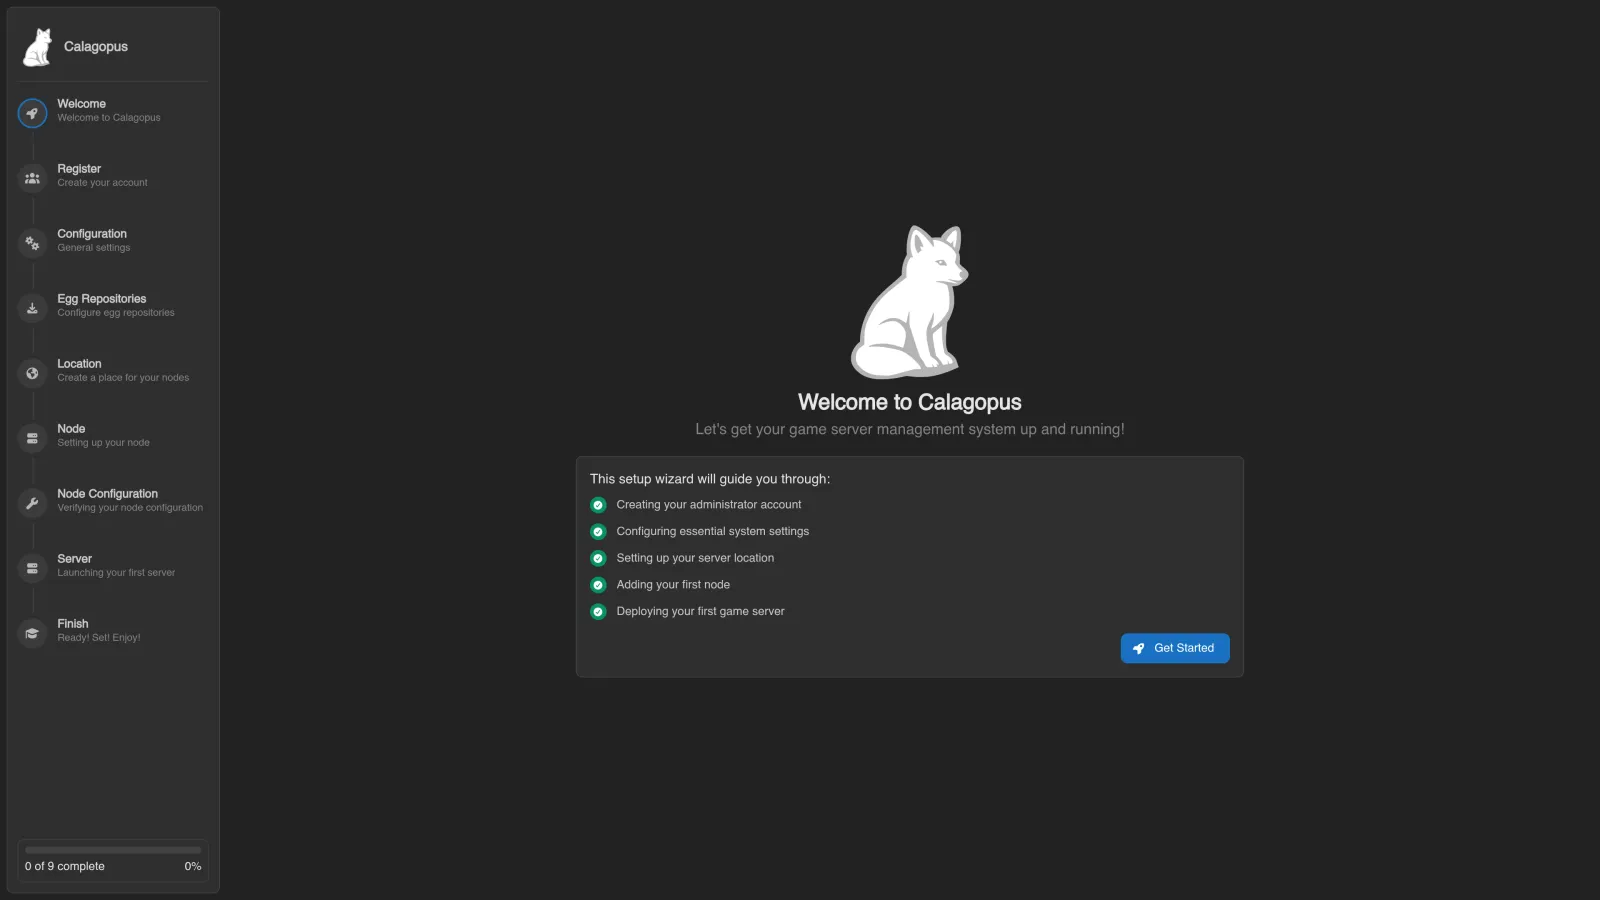
http://unraid-ip:8000You will see the OOBE (Out Of Box Experience) setup screen where you create your first admin account and complete initial configuration.
Updating
Unraid flags an update icon on the container in the Docker tab when a new image is available. Click it and choose Apply Update, Unraid pulls the new image and restarts the container; your data volumes are preserved.