PostgreSQL
This guide explains how to install and configure a PostgreSQL database server to use as a database host in the Calagopus Panel. Once set up, your users will be able to create databases for their game servers directly from the panel.
INFO
The panel connects to this host using a privileged account to provision databases and roles on demand. Each game server then receives its own isolated credentials.
Installation
Create a directory for the service and enter it:
mkdir postgres && cd postgresCreate a compose.yaml with the following content:
services:
  postgres:
    image: postgres:18
    restart: unless-stopped
    environment:
      POSTGRES_PASSWORD: <strong-root-password>
    volumes:
      - ./data:/var/lib/postgresql
    ports:
      - "0.0.0.0:5432:5432"
Start the service:
docker compose up -dThen open a psql shell inside the container to continue with user setup:
docker compose exec postgres psql -U postgresConfiguring Remote Access
By default, PostgreSQL only listens on 127.0.0.1 and uses ident authentication for local connections. You need to update both the listen address and the client authentication rules.
INFO
If you used Docker Compose, the ports entry already exposes the port - you still need to update pg_hba.conf for non-Docker installs if you want password auth.
Find the PostgreSQL config directory (typically /etc/postgresql/<version>/main/):
Edit postgresql.conf:
listen_addresses = '*'Edit pg_hba.conf and add the following line to allow password authentication from any host:
host all all 0.0.0.0/0 scram-sha-256Restart PostgreSQL:
sudo systemctl restart postgresqlCreating the Panel User
Inside the psql shell, create a dedicated role that the panel uses to provision user databases:
DANGER
The role below can connect from any IP address. Use a long, randomly generated password - a weak password on an exposed port is a critical security risk.
CREATE USER calagopus WITH PASSWORD '<strong-password>' CREATEDB CREATEROLE;INFO
CREATEDB and CREATEROLE allow the panel to provision databases and per-game-server roles without needing full superuser access.
Adding the Host to the Panel
- Go to Admin → Database Hosts → Create.
- Change the Credential Type to Details.
- Fill in the form:
| Field | Value |
|---|---|
| Name | A friendly label, e.g. PostgreSQL |
| Host | IP address or hostname of the database server |
| Port | 5432 |
| Username | calagopus |
| Password | The password you set above |
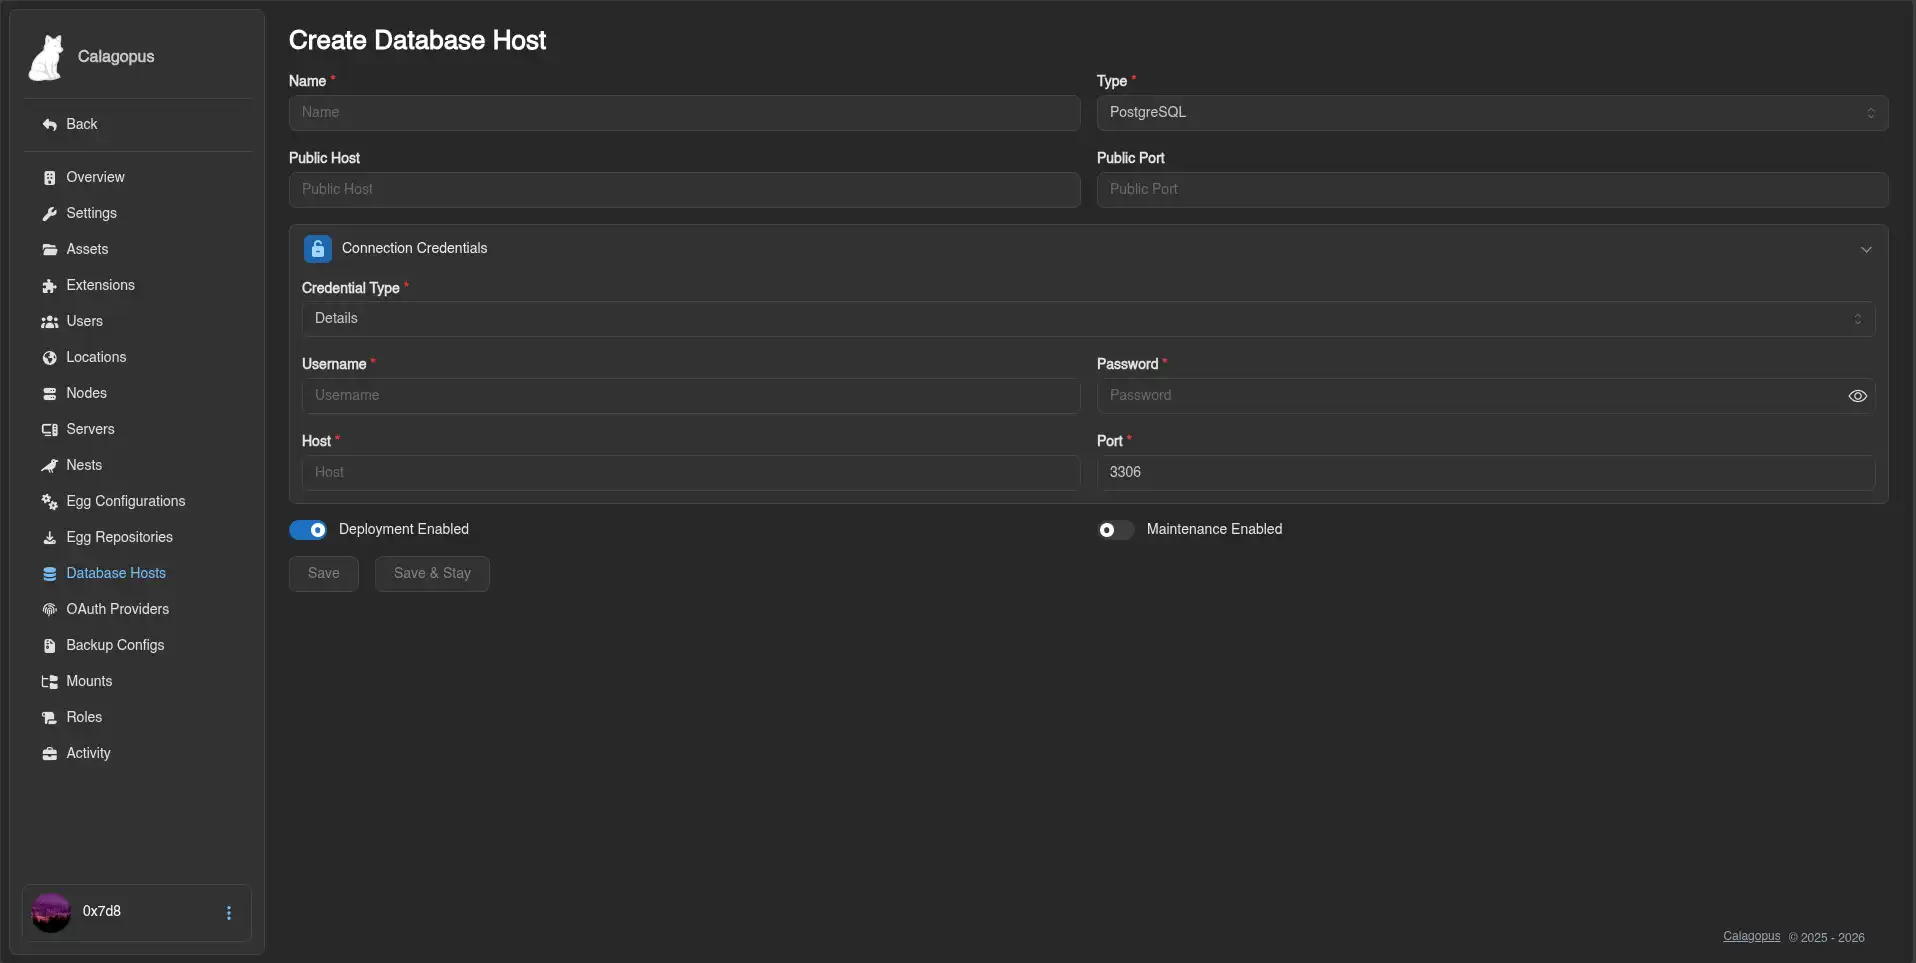
- Click Save. You will be able to verify the connection afterwards.
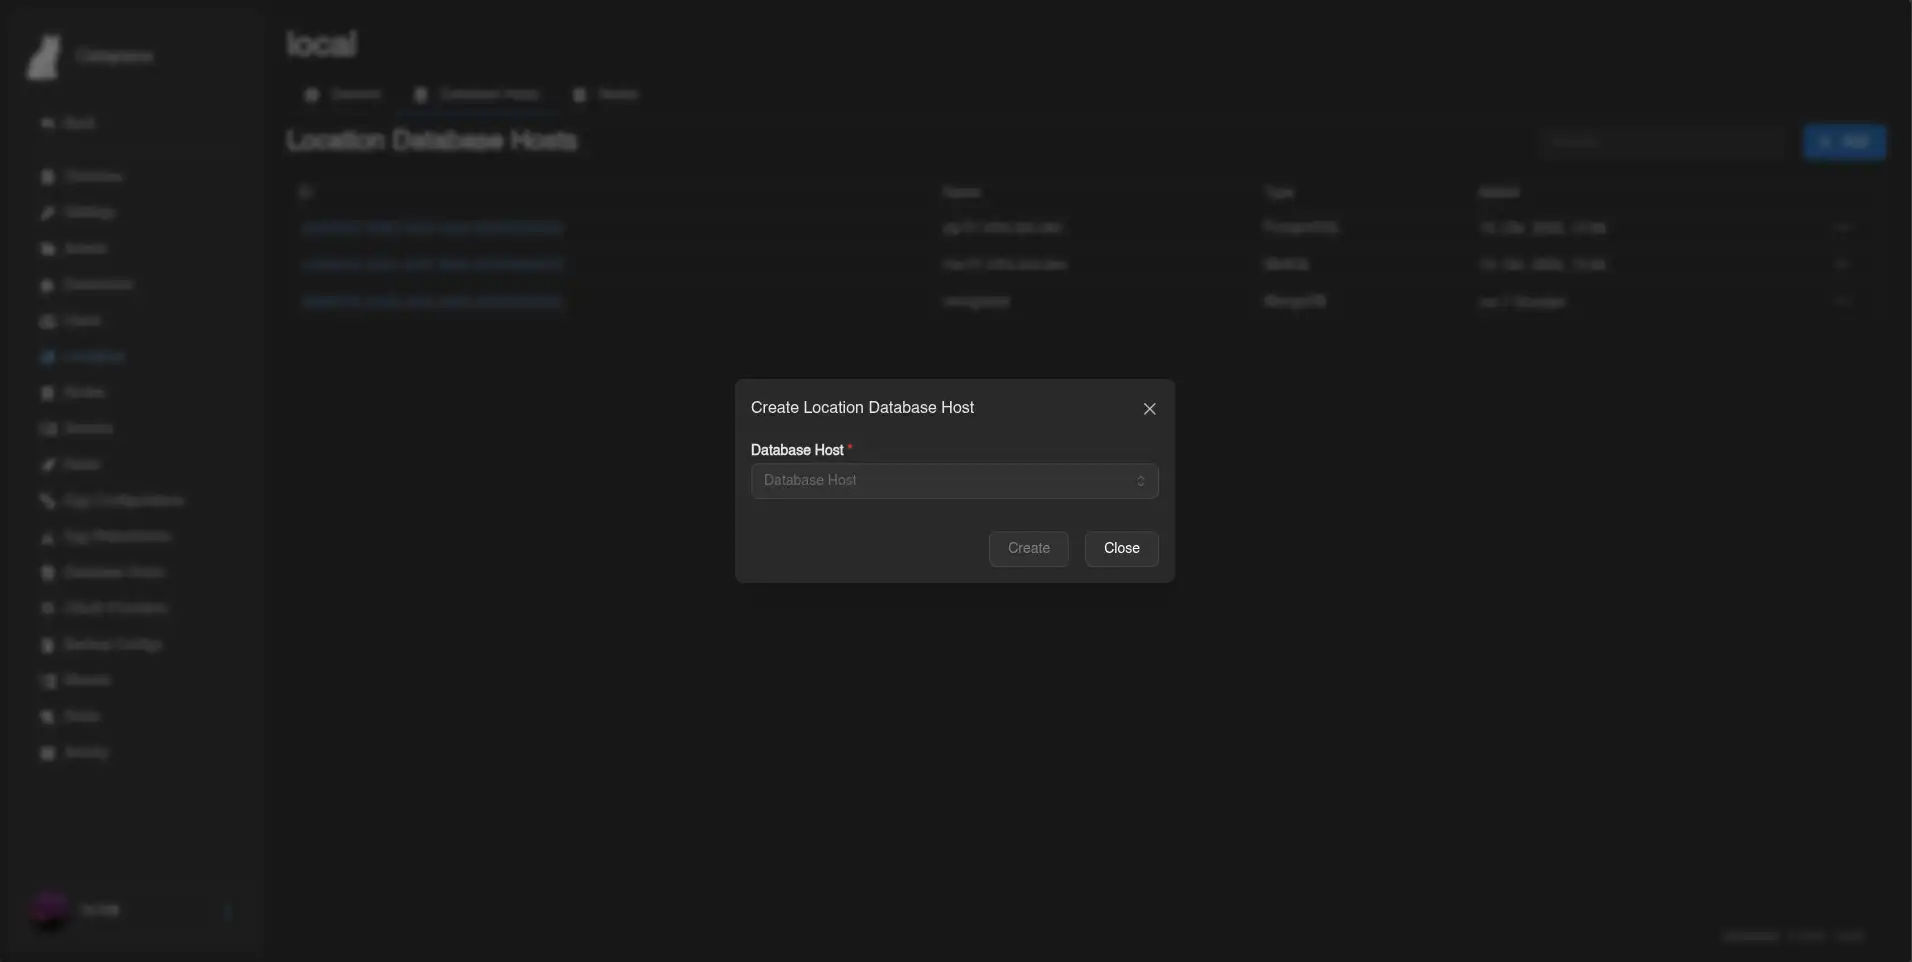
Making the Database Host Show Up for Users
By default, new database hosts are not visible to any client API endpoints. To fix this, we need to add the database host to the Locations Database Host List.
- Go to Admin → Locations and click on the location you want to add the database host to.
- Click the Database Hosts tab at the top.
- Click Add and select the database host you just created from the dropdown, then submit.
INFO
For further reference on PostgreSQL configuration, see the official PostgreSQL documentation.