Google OAuth Setup
This guide walks through setting up Google OAuth for your Calagopus Panel.
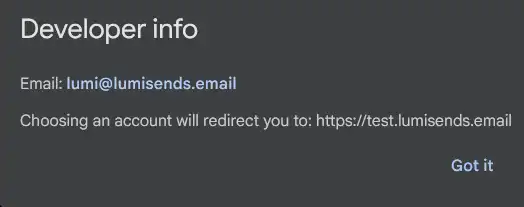
WARNING
If you are planning to configure Google OAuth, please keep in mind that on Google's login page, it will leak your email address on the Developer info popup. You can literally do this by clicking on the app name: 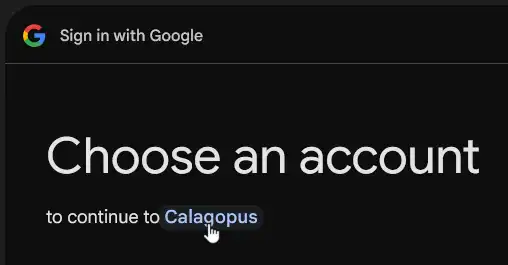
If you don't want your personal email to be shared, you have 2 options:
- 1. Create a separate Google account with a work email. This will show your work email instead of your personal email, so you won't get spammed by bots on your personal email.
- 2. Don't use Google OAuth. Use another provider from this list.
Prerequisites
To set up Google OAuth, you need:
- A Google account
- A running Calagopus Panel
Downloading required files
Download the google.yml template to import the Google provider configuration without entering values manually.
Right-click the link below and save the file locally.
Import the template config
Once google.yml has been downloaded, head to your Calagopus Panel's admin page, and click on OAuth Providers on the side. 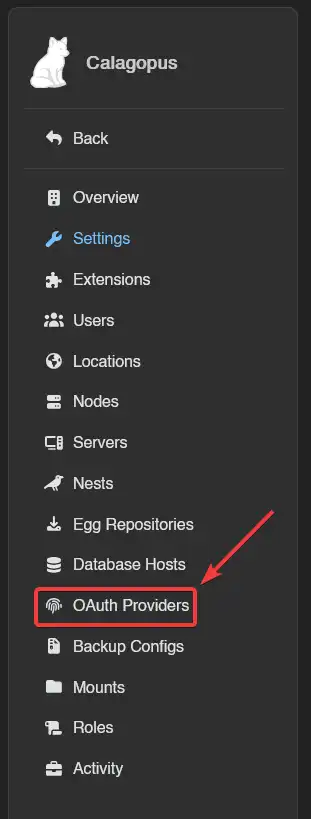
Then, click on the Import button and import the google.yml file. 
Once imported, click on the newly created Google provider's ID and you should arrive to a page similar to this: 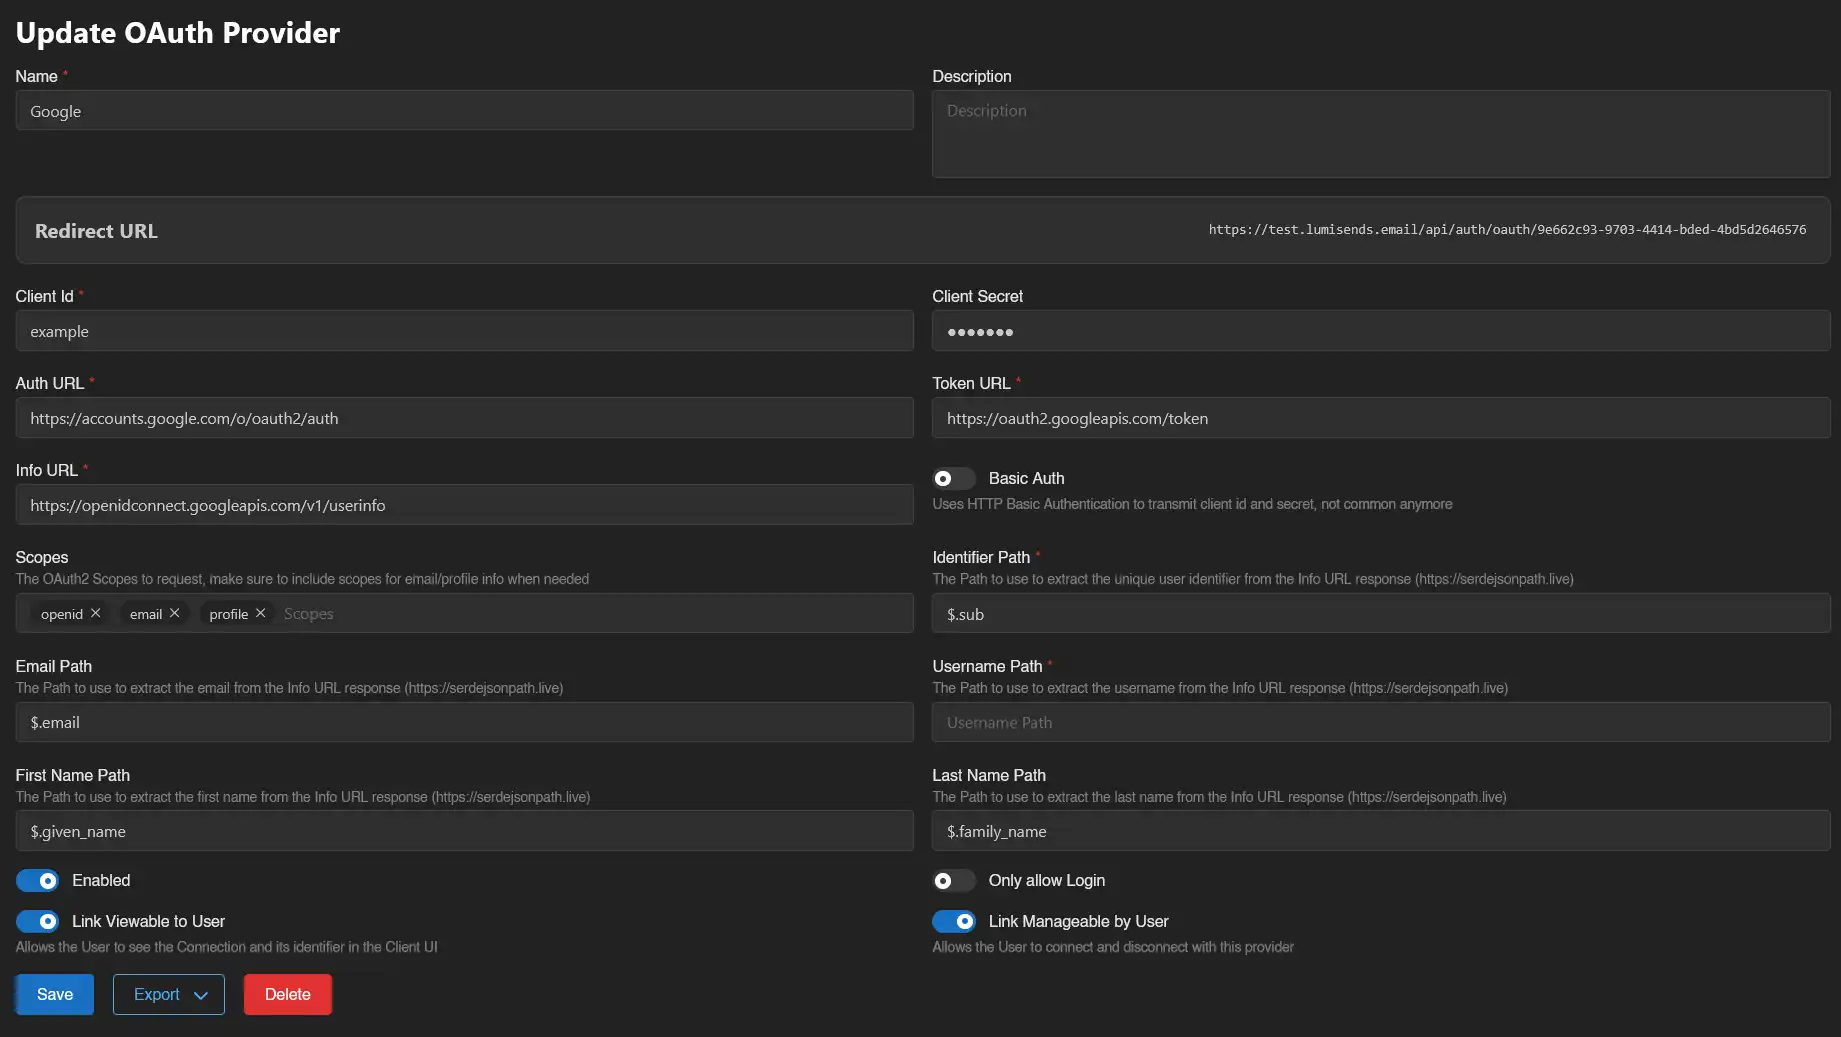
Copy the Redirect URL provided by the panel and proceed to the next step.
Setting up Google OAuth
Select or create a Google Cloud project
Go to Google Cloud console, for example, by clicking Console on Google Cloud landing page. 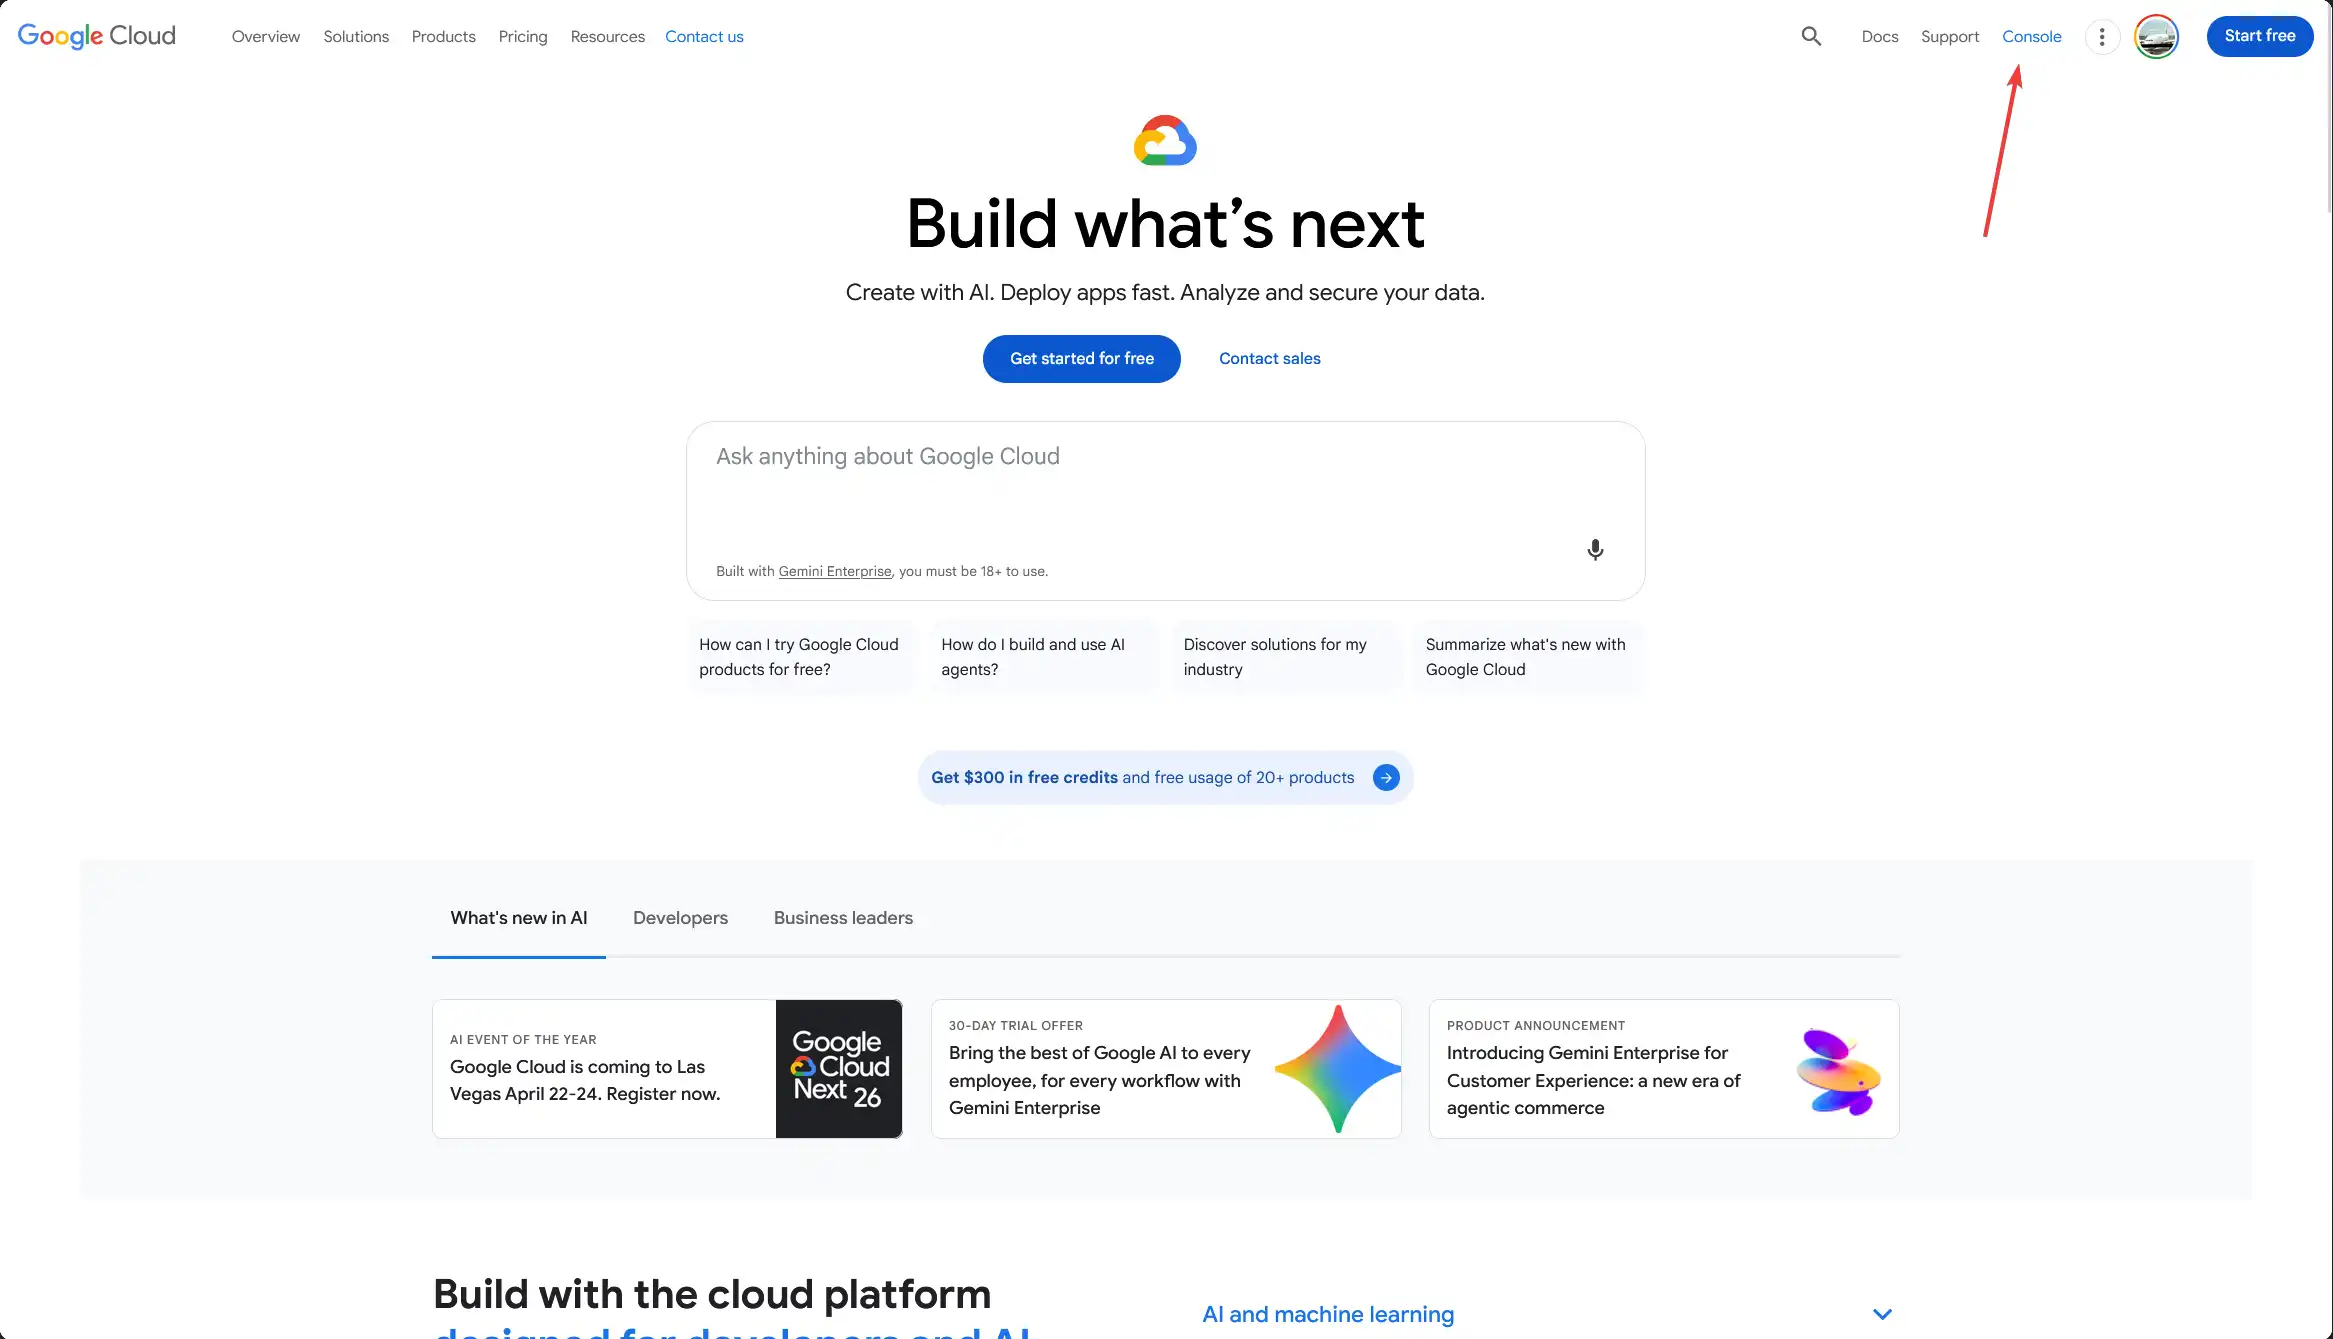
Once there, select a project that you want to use for the Google OAuth app. 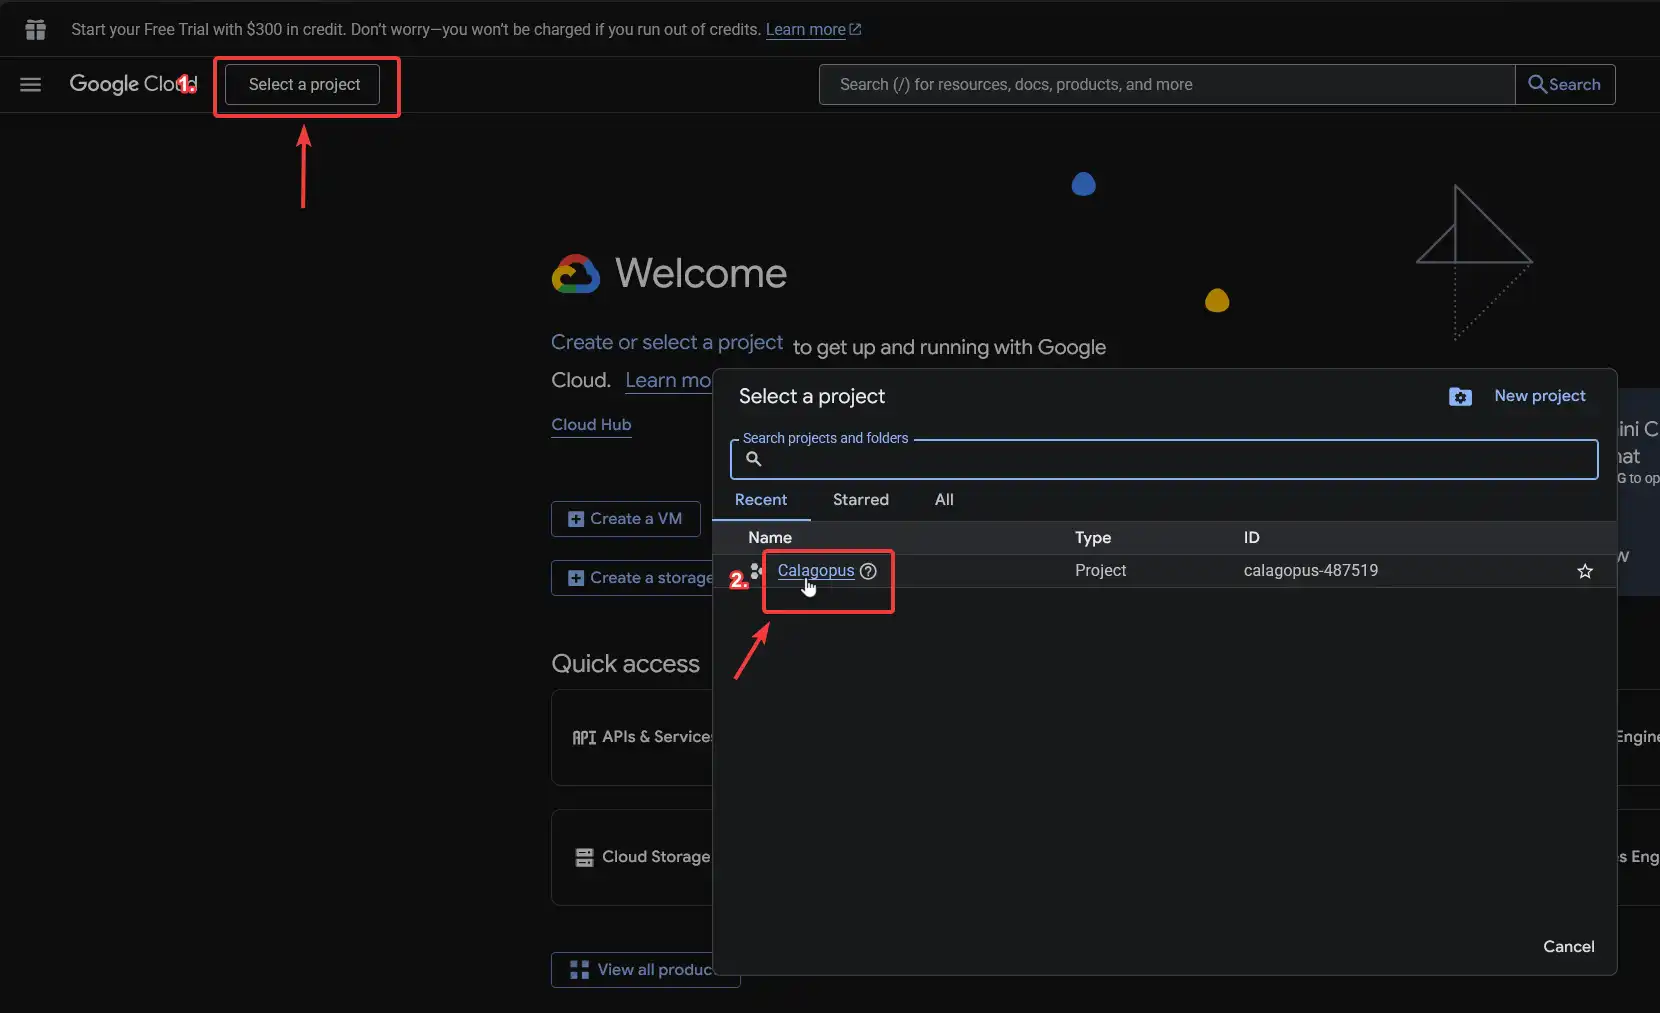
How to create a project in Google Cloud?
In the Select a project pop-up, click New project. 
Pick a name for the project, in this case Calagopus. The organisation field can be left to no organization. 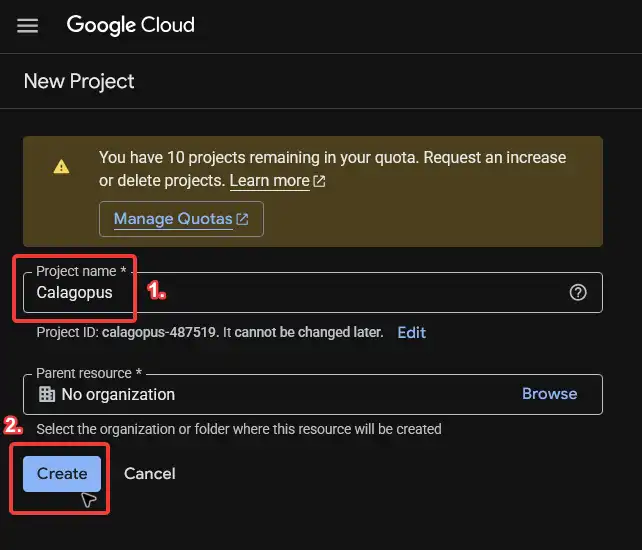
Once the project has been created, wait for all the other steps to complete and then select the project. 
Register the OAuth application
In the search bar, search for APIs & Services or something similar. 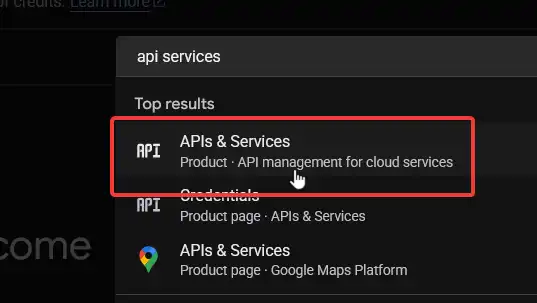
Then in the left sidebar, pick OAuth consent screen to begin the OAuth application registration. 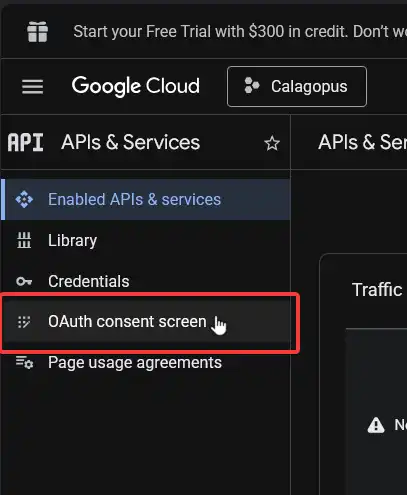
Then, on the Google Auth Platform not configured yet page, click on the Get started button. 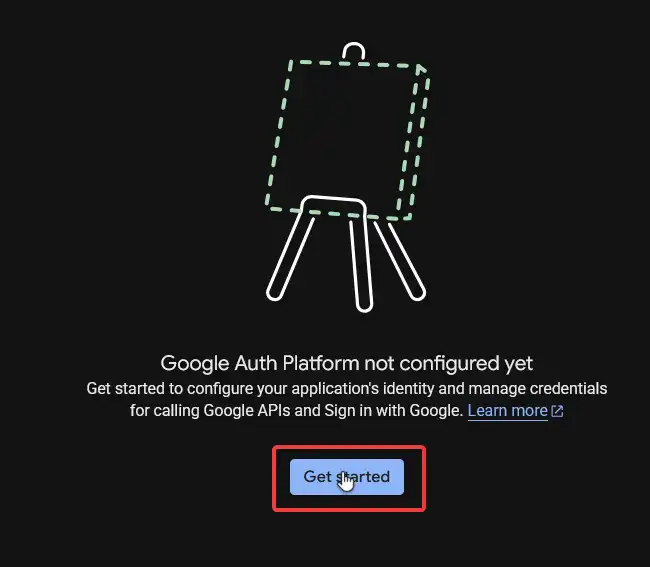
On the next screen, pick the name of the application to show on the login page and add your contact information. Then, click on Next. 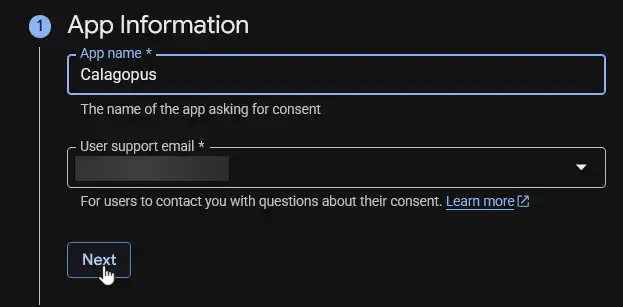
Choose External for the application type and then click Next. 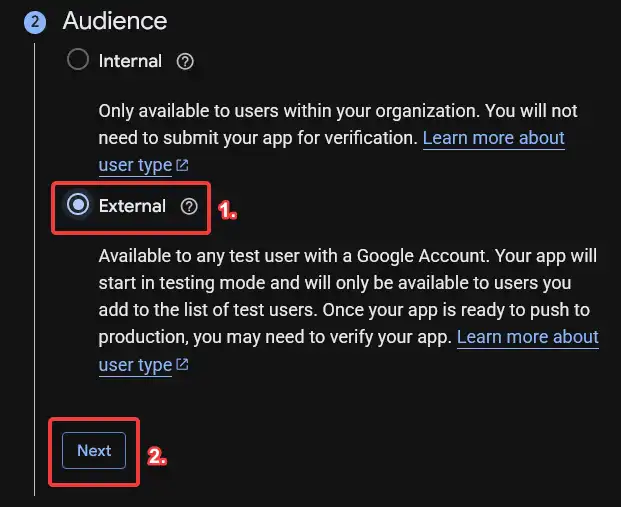
Add your contact information again, and then click Next. 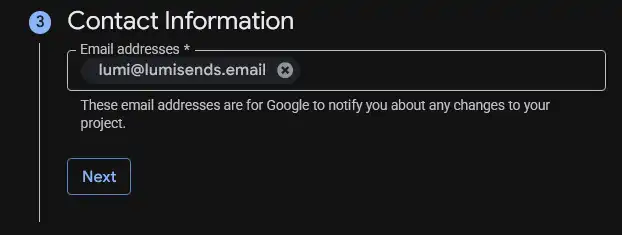
Accept the Google API Services: User Data Policy, and then click Continue, and then finally Create. 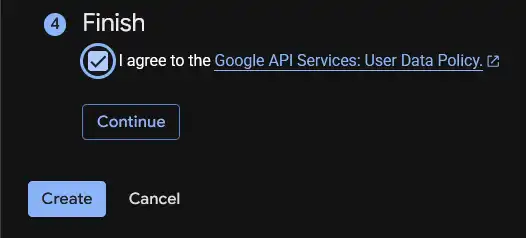
Go back to the Branding tab at the left sidebar, and scroll down until you find Authorized domains. Add a new domain, and enter your top private domain your Calagopus Panel is located. For example, if your panel is test.example.com, you would put example.com. Finally, click the Save button. 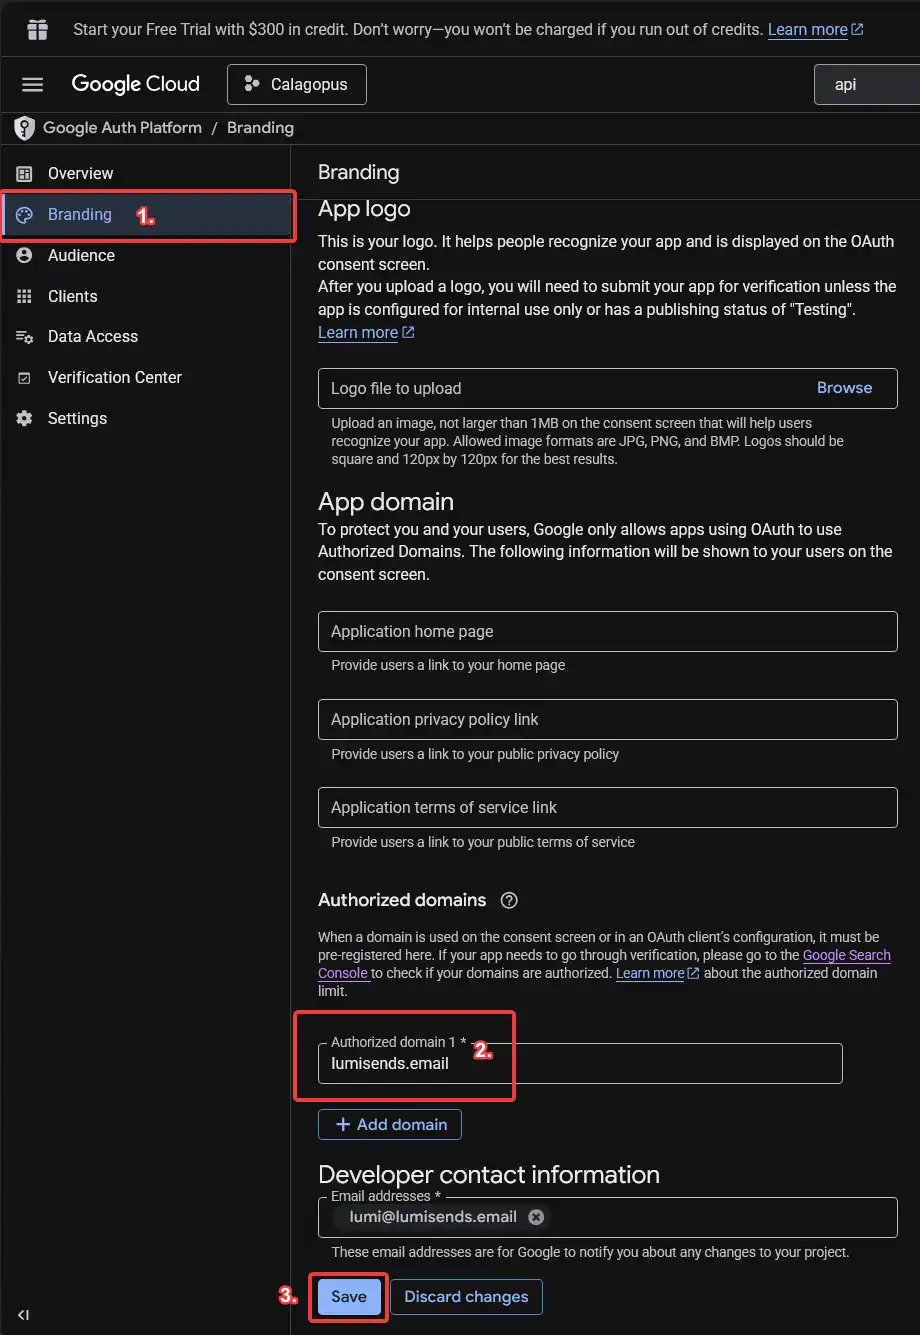
WARNING
Do NOT fill out the App logo field, as this will require getting your app verified, which can take some time.
Next, go to the Audience tab, and publish the application. 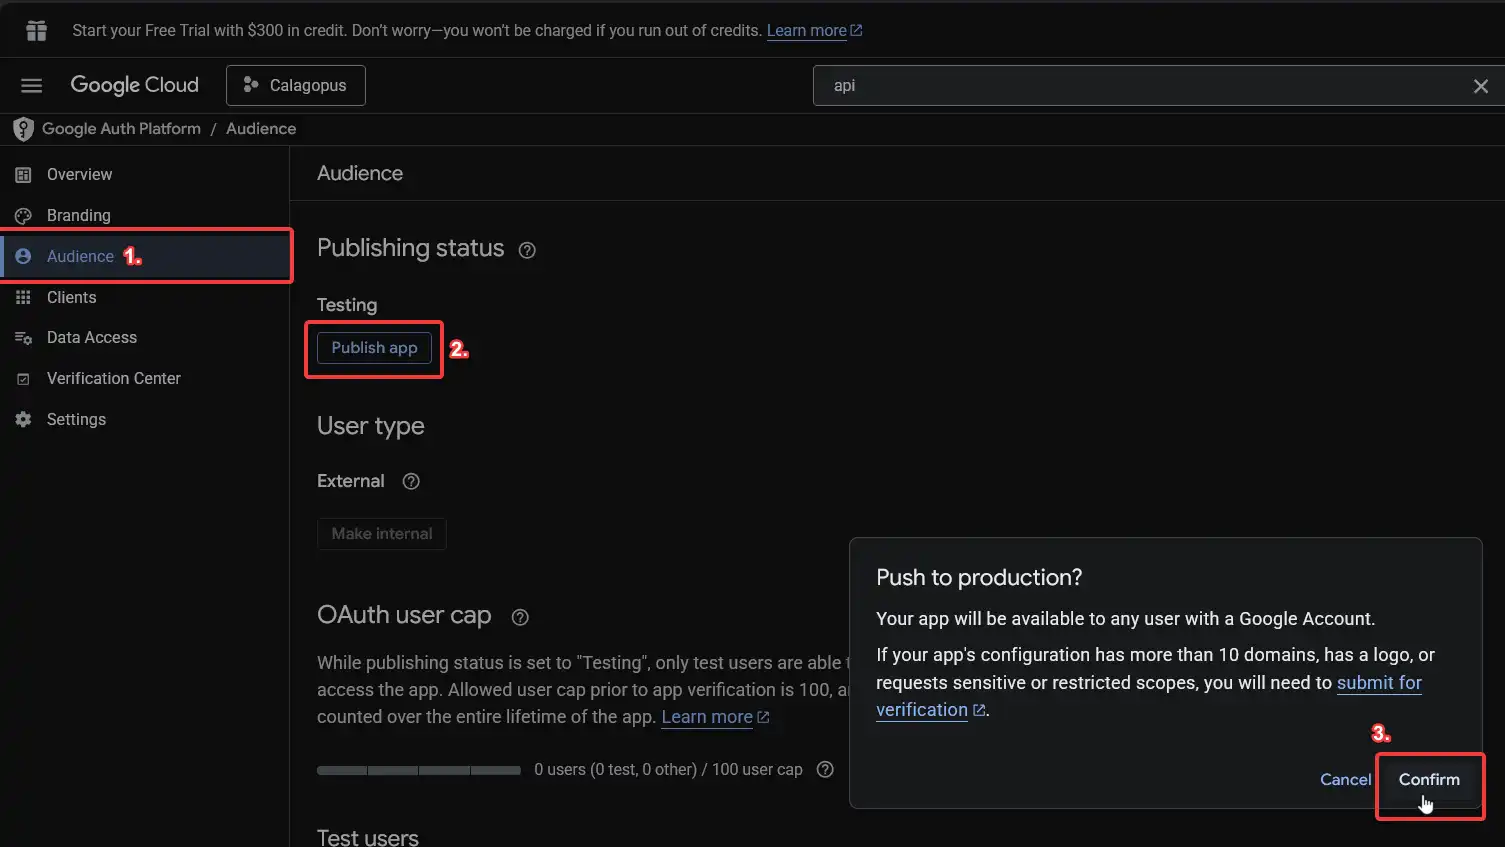
Issue an OAuth client and key for that application
Go back to the APIs & Services page. To do so, in the search bar, search for APIs & Services or something similar.
Pick Credentials in the sidebar. Click + Create credentials dropdown and select OAuth client ID. 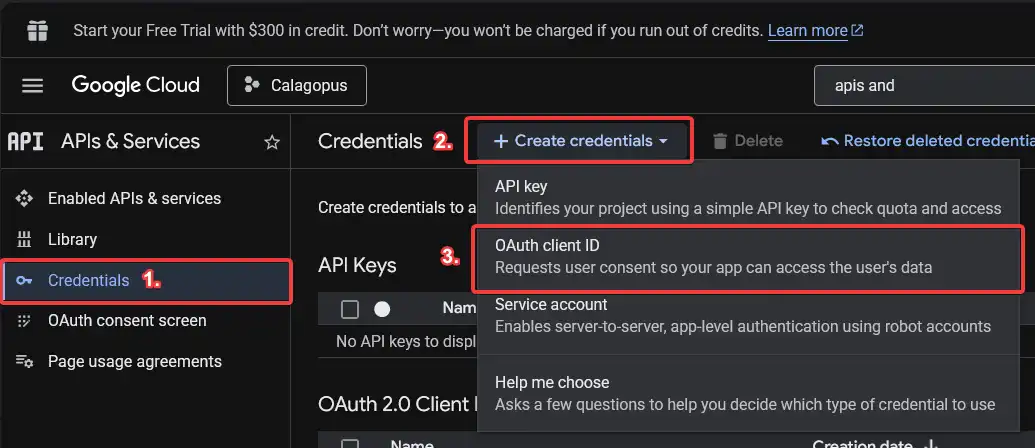
Pick Web application for the application type, type the name for the client, and add the redirect URL. Then, create the OAuth Client ID by clicking the Create button. 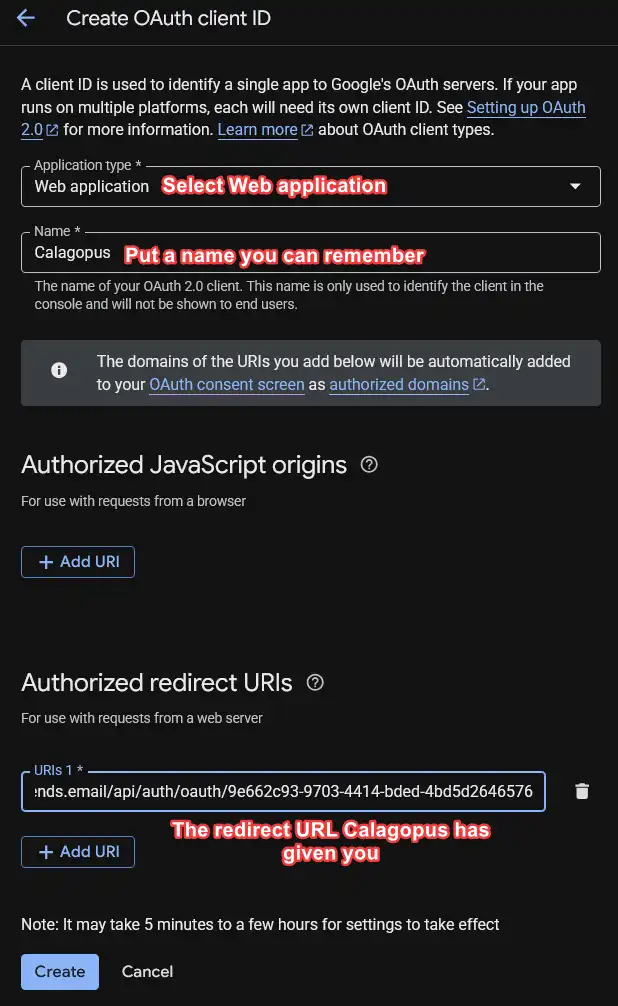
Copy both your Client ID and your Client secret, and then you can close Google Cloud. You will need those for the next step. 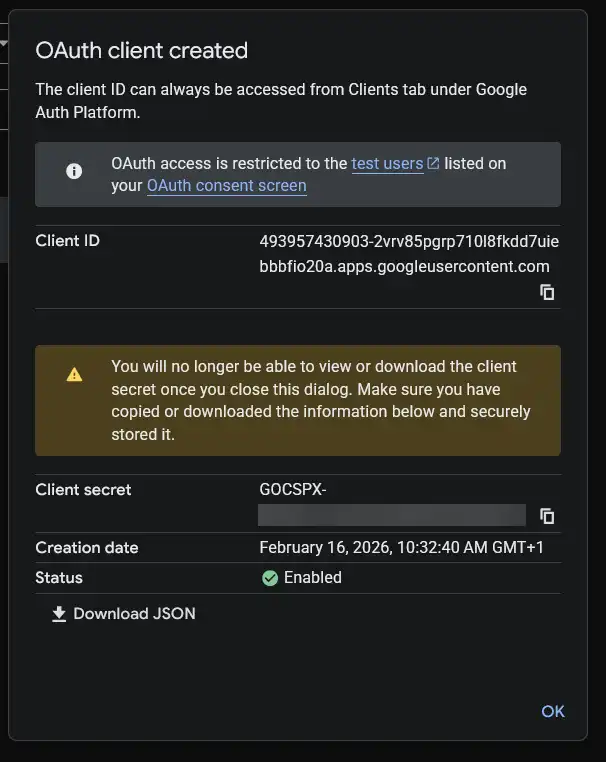
Configuring the OAuth Provider
Back in the panel, enter the Client ID and Client Secret you copied from Google Cloud.
On the switches below, choose if you want to enable Google OAuth, only allow login, allow the user to view the connection and allow the user to link and unlink their accounts.
It should normally look like this:
Finally, save your changes, and you should be done!
Test the configuration
To test your configuration, head into your account settings, click on OAuth Links at the sidebar, and connect to your Google account. 
If everything works correctly, you should now be able to see your Google account in your list. 
Troubleshooting
Error: "Redirect URI Mismatch" or "Invalid Redirect URI"
The redirect URL in Google Cloud doesn't match the one provided by Calagopus Panel.
Solution:
- Go back to your Calagopus Panel OAuth provider configuration page
- Copy the exact Redirect URL shown
- Go to Google Cloud Console
- Navigate to APIs & Services → Credentials
- Click on your OAuth 2.0 Client ID
- Under "Authorized redirect URIs", ensure the URL matches exactly (including
https://, trailing slashes, etc.) - Click
Save
Error: "Invalid Client" or "Unauthorized Client"
The Client ID or Client Secret is incorrect.
Solution:
- Go to Google Cloud Console
- Navigate to APIs & Services → Credentials
- Click on your OAuth 2.0 Client ID
- Copy your Client ID
- Create a new Client Secret by clicking
Add Secretunder "Client secrets" - Update both values in your Calagopus Panel OAuth provider configuration
- Save the changes
Error: "Access Blocked: Authorization Error" with message about app not being verified
Cause: Your Google OAuth app is in testing mode or not published.
Solution:
- Go to Google Cloud Console
- Navigate to APIs & Services → OAuth consent screen
- Go to the
Audiencetab - Click
Publish Appbutton - Confirm the publishing action
Error: "Invalid Domain" or domain-related errors
Cause: Your panel's domain is not added to the authorized domains list.
Solution:
- Go to Google Cloud Console
- Navigate to APIs & Services → OAuth consent screen
- Go to the
Brandingtab - Scroll to "Authorized domains"
- Add your top-level domain (e.g.,
example.comif your panel is atpanel.example.com) - Click
Save